An artboard is one finished piece. You can place pieces of different sizes, such as posters, app screens and social banners, side by side on one canvas and work on them together, which is especially handy for comparing versions of a design or making a series. With well-split artboards and tidy layers, you can find things quickly even as the work grows.
Creating and moving artboards
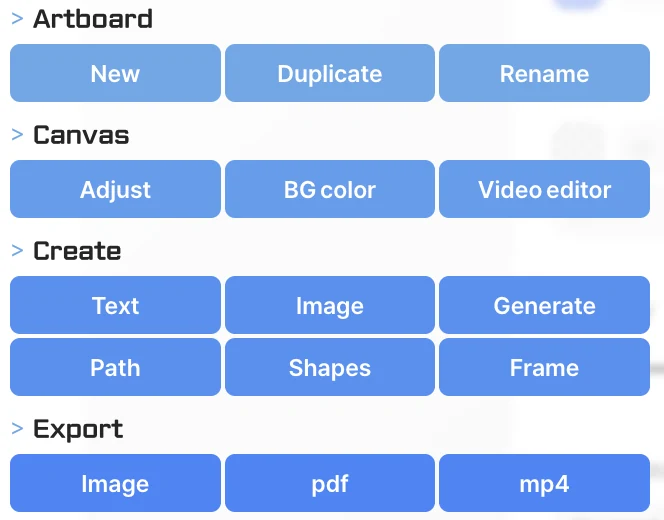
Pick the Board · Frame tool in the toolbar or press A, then drag on an empty spot to create an artboard of that size. Remember that dragging «inside» an artboard creates a frame, not an artboard. You can also click + Artboard at the bottom left, or right-click an empty spot and use New · Duplicate · Rename in the Artboard group. To remake the same design in another size, duplicating and then resizing is fastest.
Click the name at an artboard's top left to select it, then drag to move it or drag a corner to resize it. When you have many artboards, move between them with N · ⇧N, and use ⇧1 to see them all on one screen.
Exact artboard sizes
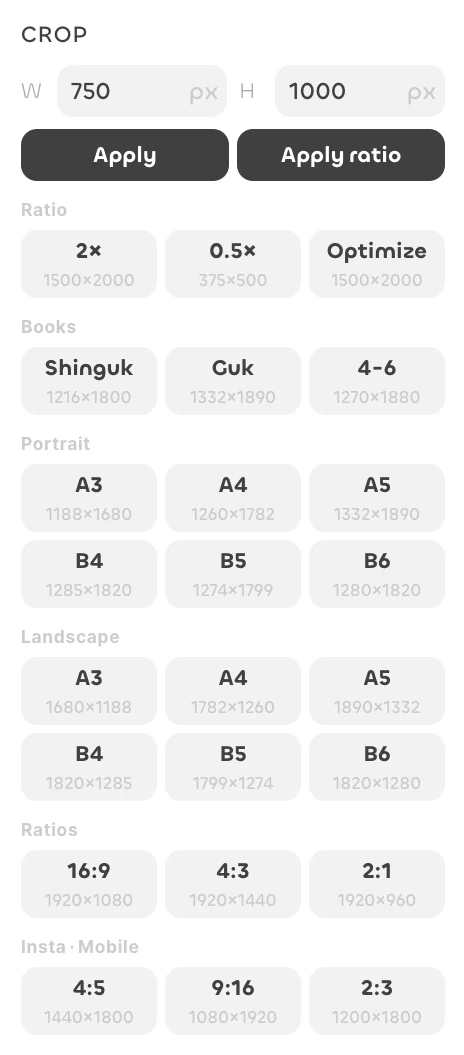
Press crop (C) with nothing selected to enter artboard resize mode. Type W and H in the Crop section on the right, or pick a preset and click Apply. Presets range from 2x and 0.5x scales to book trim sizes, A and B paper in portrait and landscape, screen ratios like 16:9, and Instagram and mobile ratios like 4:5 and 9:16, so you can pick the right size without doing any math. Each preset shows its actual pixel size, so check it before applying.
Organizing layers
The list in the Layer panel on the left shows the elements on the artboard. Higher rows are drawn in front, and you can reorder by dragging in the list or with ⌘] · ⌘[. Select several elements and group them with ⌘G to move them together. To edit just one item in a group, select the group and press Enter, or click while holding ⌘.
Hide elements that get in the way with the eye icon, or lock them with the lock. Locking things like backgrounds that keep getting picked by mistake makes work much easier. Rename an element with ⌘R; the name can become the file name when you export, so it pays to name things clearly. If a layer covering the whole artboard (like an empty pixel layer) sits on top, clicking the canvas selects it first, so pick what you want in the layers panel instead.
Aligning and exact placement
Select several elements and use the Align group in the toolbar to align left, center, right, top, middle or bottom, or to distribute horizontal and vertical spacing evenly. Horizontal and vertical flip are in the same group.
For exact placement, type X, Y, W, H and rotation in the Transform section on the right. When you drag, snap lines appear at other elements' and the artboard's edges and centers («Enable snapping» in Canvas Settings), and turning on rulers with ⇧⌘R lets you drag guides out of them.