Opkle Editor is a vector and image editor you can use without a subscription. Logos, illustrations, app mockups, social images and book covers can all be made and polished in one app, and photo retouching, animation and export continue on the same screen. This page walks you from the moment you open the app to drawing your first shape and saving it.
The project screen
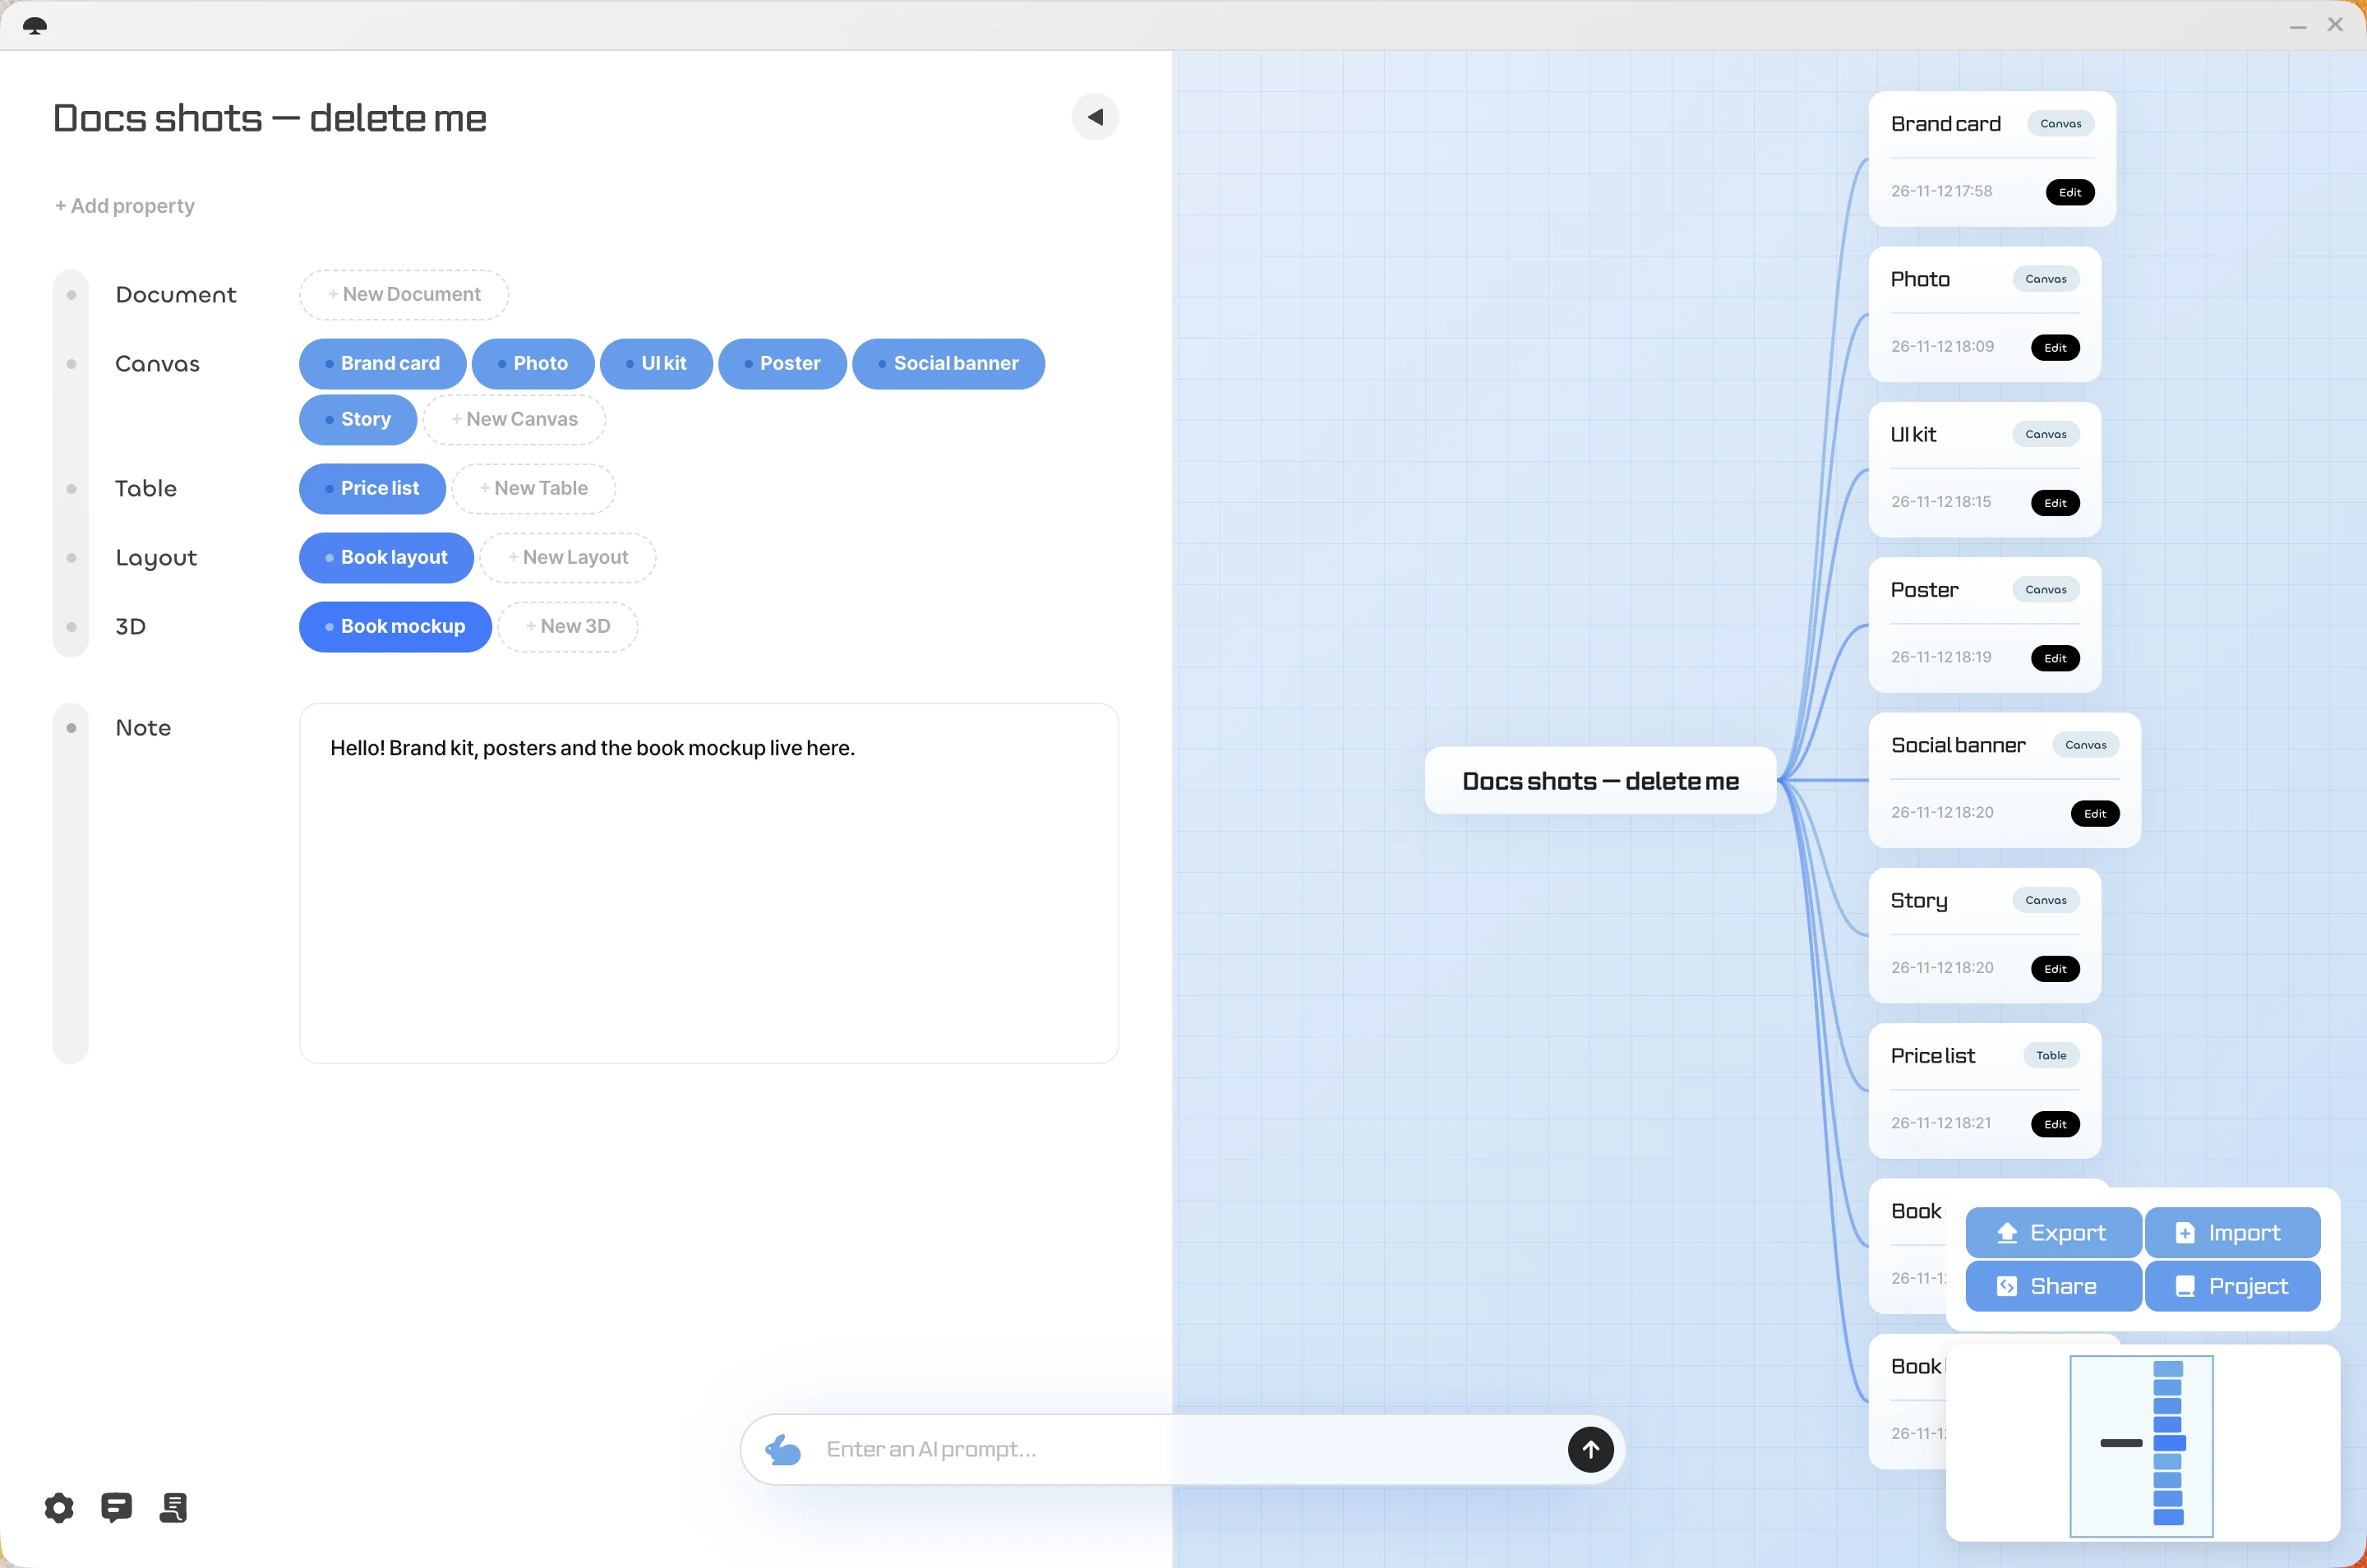
After you sign in with your Opkle account, the project screen opens first. Think of a project as one big box for one piece of work. Canvases (drawings), documents, tables, layouts, schedules and 3D files all go inside it. The left side lists them in rows by type, and the right side shows them as a connected map, so you can see at a glance which files belong to the work.
At the bottom right are four buttons: Export · Import · Share · Project. Use them to back up the whole project as a file, bring in a project made on another device, or switch to another project.
A new project and your first canvas
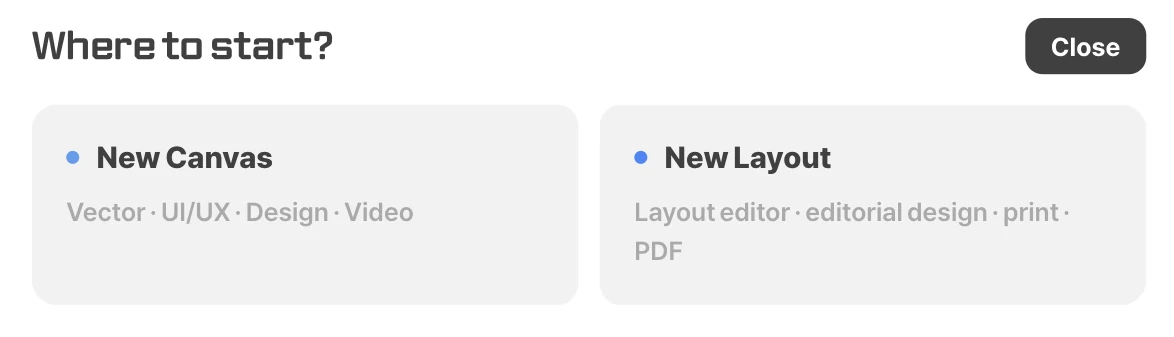
Click Project at the bottom right, choose New and give it a name. The new project opens with a «Where to start?» window. Choose New Canvas for drawings, screen designs or video, or New Layout for multi-page work such as books and print. Name the canvas and Opkle Editor opens right away.
In a project you already use, add a canvas with New Canvas at the end of the Canvas row. Each canvas stays in that row as a name pill, so you can reopen it anytime by clicking the pill or double-clicking its node on the map.
The guide on first launch
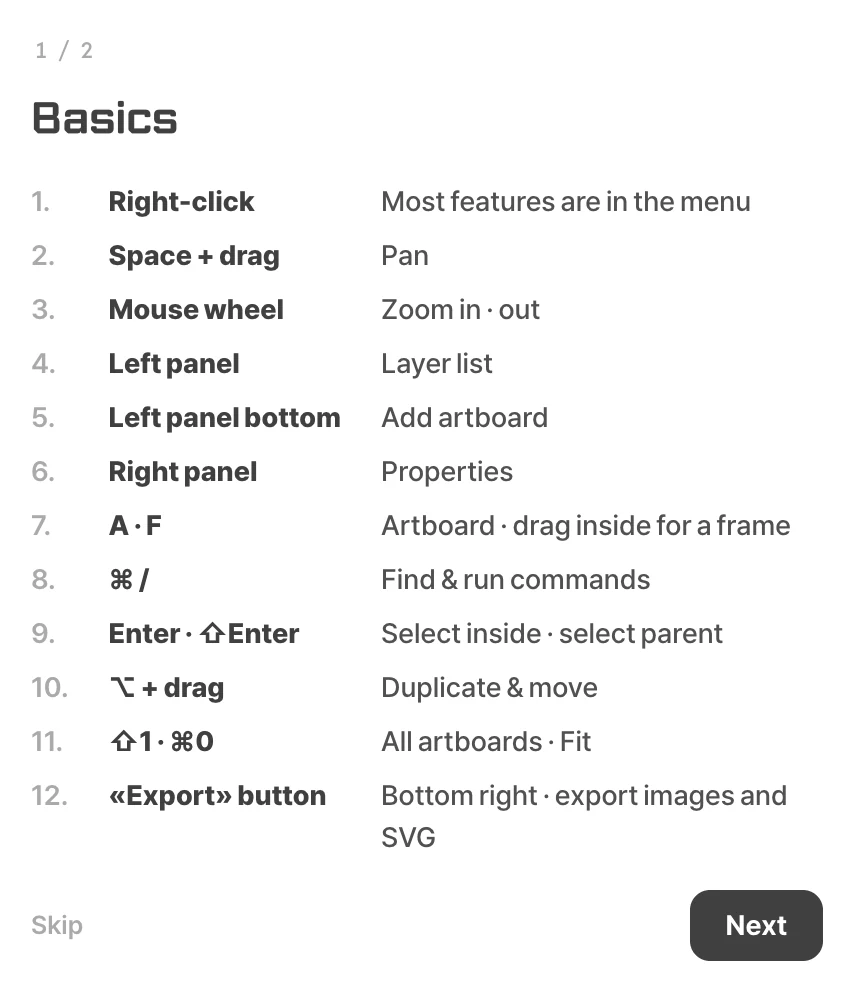
The first time you open the editor, a «Basics» guide appears. The most important thing to remember is right-click. Most features live in right-click menus, so when you're not sure what to do, right-click the spot and see what you can do there. Pan by dragging while holding Space, zoom with the mouse wheel, and if you know a command's name, find and run it with ⌘/.
The second guide is «Settings are here». Click the logo at the top left anytime to open your profile, and adjust wheel behavior, snapping, rulers and more in Canvas Settings. The guides are short, so a quick look is enough before you start working.
Draw your first shape
Pick the rectangle tool in the toolbar at the top, or press R, then drag on the white artboard. Hold ⇧ while dragging for a perfect square. When you finish, the tool switches back to Selection, so you can drag the shape around or click a color chip in the Fill section on the right to change its color. With just this, you've tried the editor's basic loop: create, select and change.
Saving and going back
Every edit is saved automatically, so there's no save button to press. Press ⌘S (Ctrl+S on Windows) only when you want to save right away, such as after finishing something important. When you're done, click Back at the bottom right to return to the project screen.
Next, see «A tour of the screen» for what each area does and «Shortcuts and quick actions» for keys that speed you up. If you're coming from another design tool, «Coming from another design tool?» is the fastest shortcut.