First, select the image to paint on
Pixel tools like the brush and eraser work on the selected image. With no image selected, the brush draws vector lines like a pencil, so to paint on an empty area, first right-click an empty spot in the layers panel and choose Create › Pixel layer. Also, clicking a layer in the layers panel switches the tool back to selection, so pick the brush again after choosing a layer.
Painting and brush settings
Brush (B) paints the image's pixels, and Smudge pushes picked-up color along your stroke to blend it. Eraser (E) erases what you painted, and Bucket fills an area of similar color around where you click.
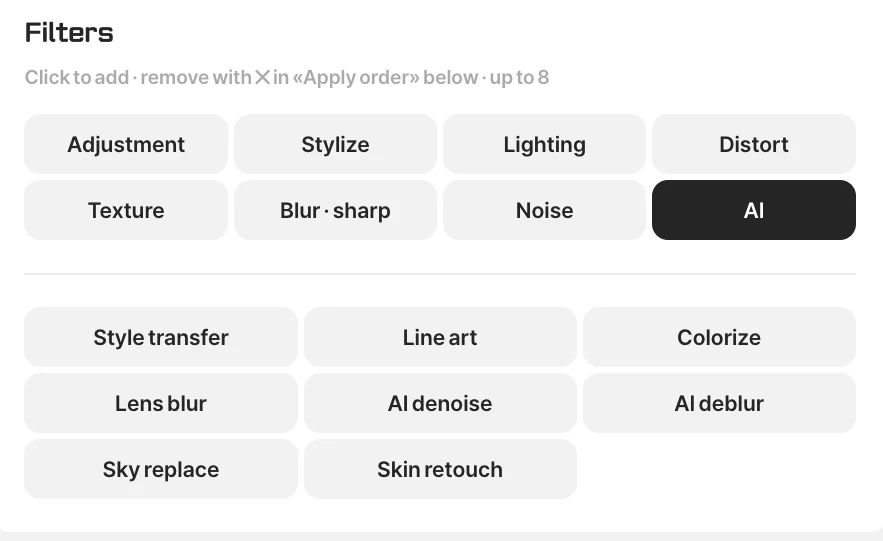
With the brush selected, right-click the canvas to open the dark brush settings panel. Set the tip shape, size, hardness, opacity, flow and spacing, and raise stabilization for smoother lines. With a pen tablet, pressure can change size and density, and you can taper the start and end of strokes or add scatter and texture for more character. Save brushes you like as presets with + Save brush. Drag a Photoshop brush file (.abr) onto the canvas to bring its brushes in as they are.
Selecting just what you want
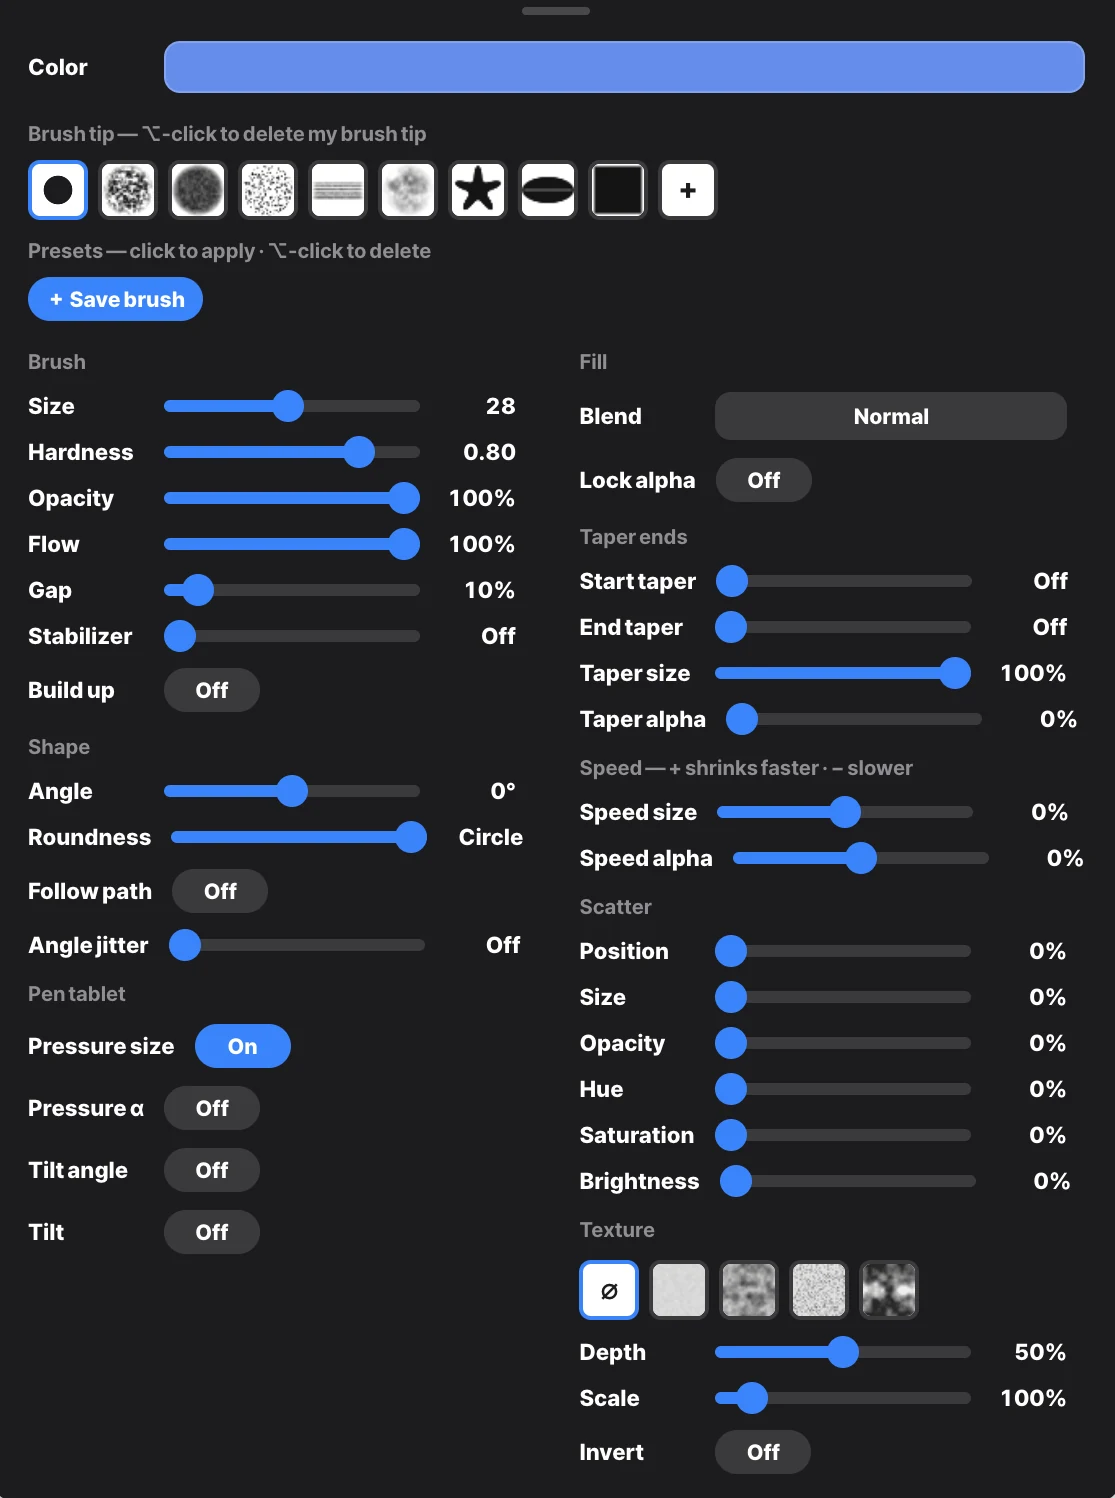
Click the Pixel select (W) slot to open selection methods in two rows. Alongside basic selections such as rectangle, ellipse, magic wand and selection brush, there's Select subject, which uses AI to find the main subject, Object select, which picks the object under your cursor, and depth, sky and focus area selection. The pen and brush selections in the lower row add to or subtract from the selection for fine-tuning. Painting and adjustments stay inside the selected area, so jobs like brightening only a person while leaving the background alone become easy.
Retouching
Stamp (S) copies pixels from another spot to cover what you don't need, and Healing (J) removes blemishes naturally to match the surrounding texture. Patch in the same slot replaces a selected area with texture from elsewhere, which is good for cleaning up large stains. Dodge · Burn · Sponge · Blur · Sharpen lighten, darken, change saturation, blur or sharpen only where you paint. Small blemishes look most natural fixed with healing, and backgrounds with repeating patterns with the stamp.
The filters window
Select a photo (or video) and click Filters in the toolbar to open the large filters window. Click a filter in the groups at the top (Adjustment, Stylize, Lighting, Distort, Texture, Blur · sharp, Noise and AI) to add it, and click again to remove it. You can stack up to eight, and clicking a name in Order at the bottom opens that filter's options. Compare in the preview on the left with «Hold = orig», then click Apply.
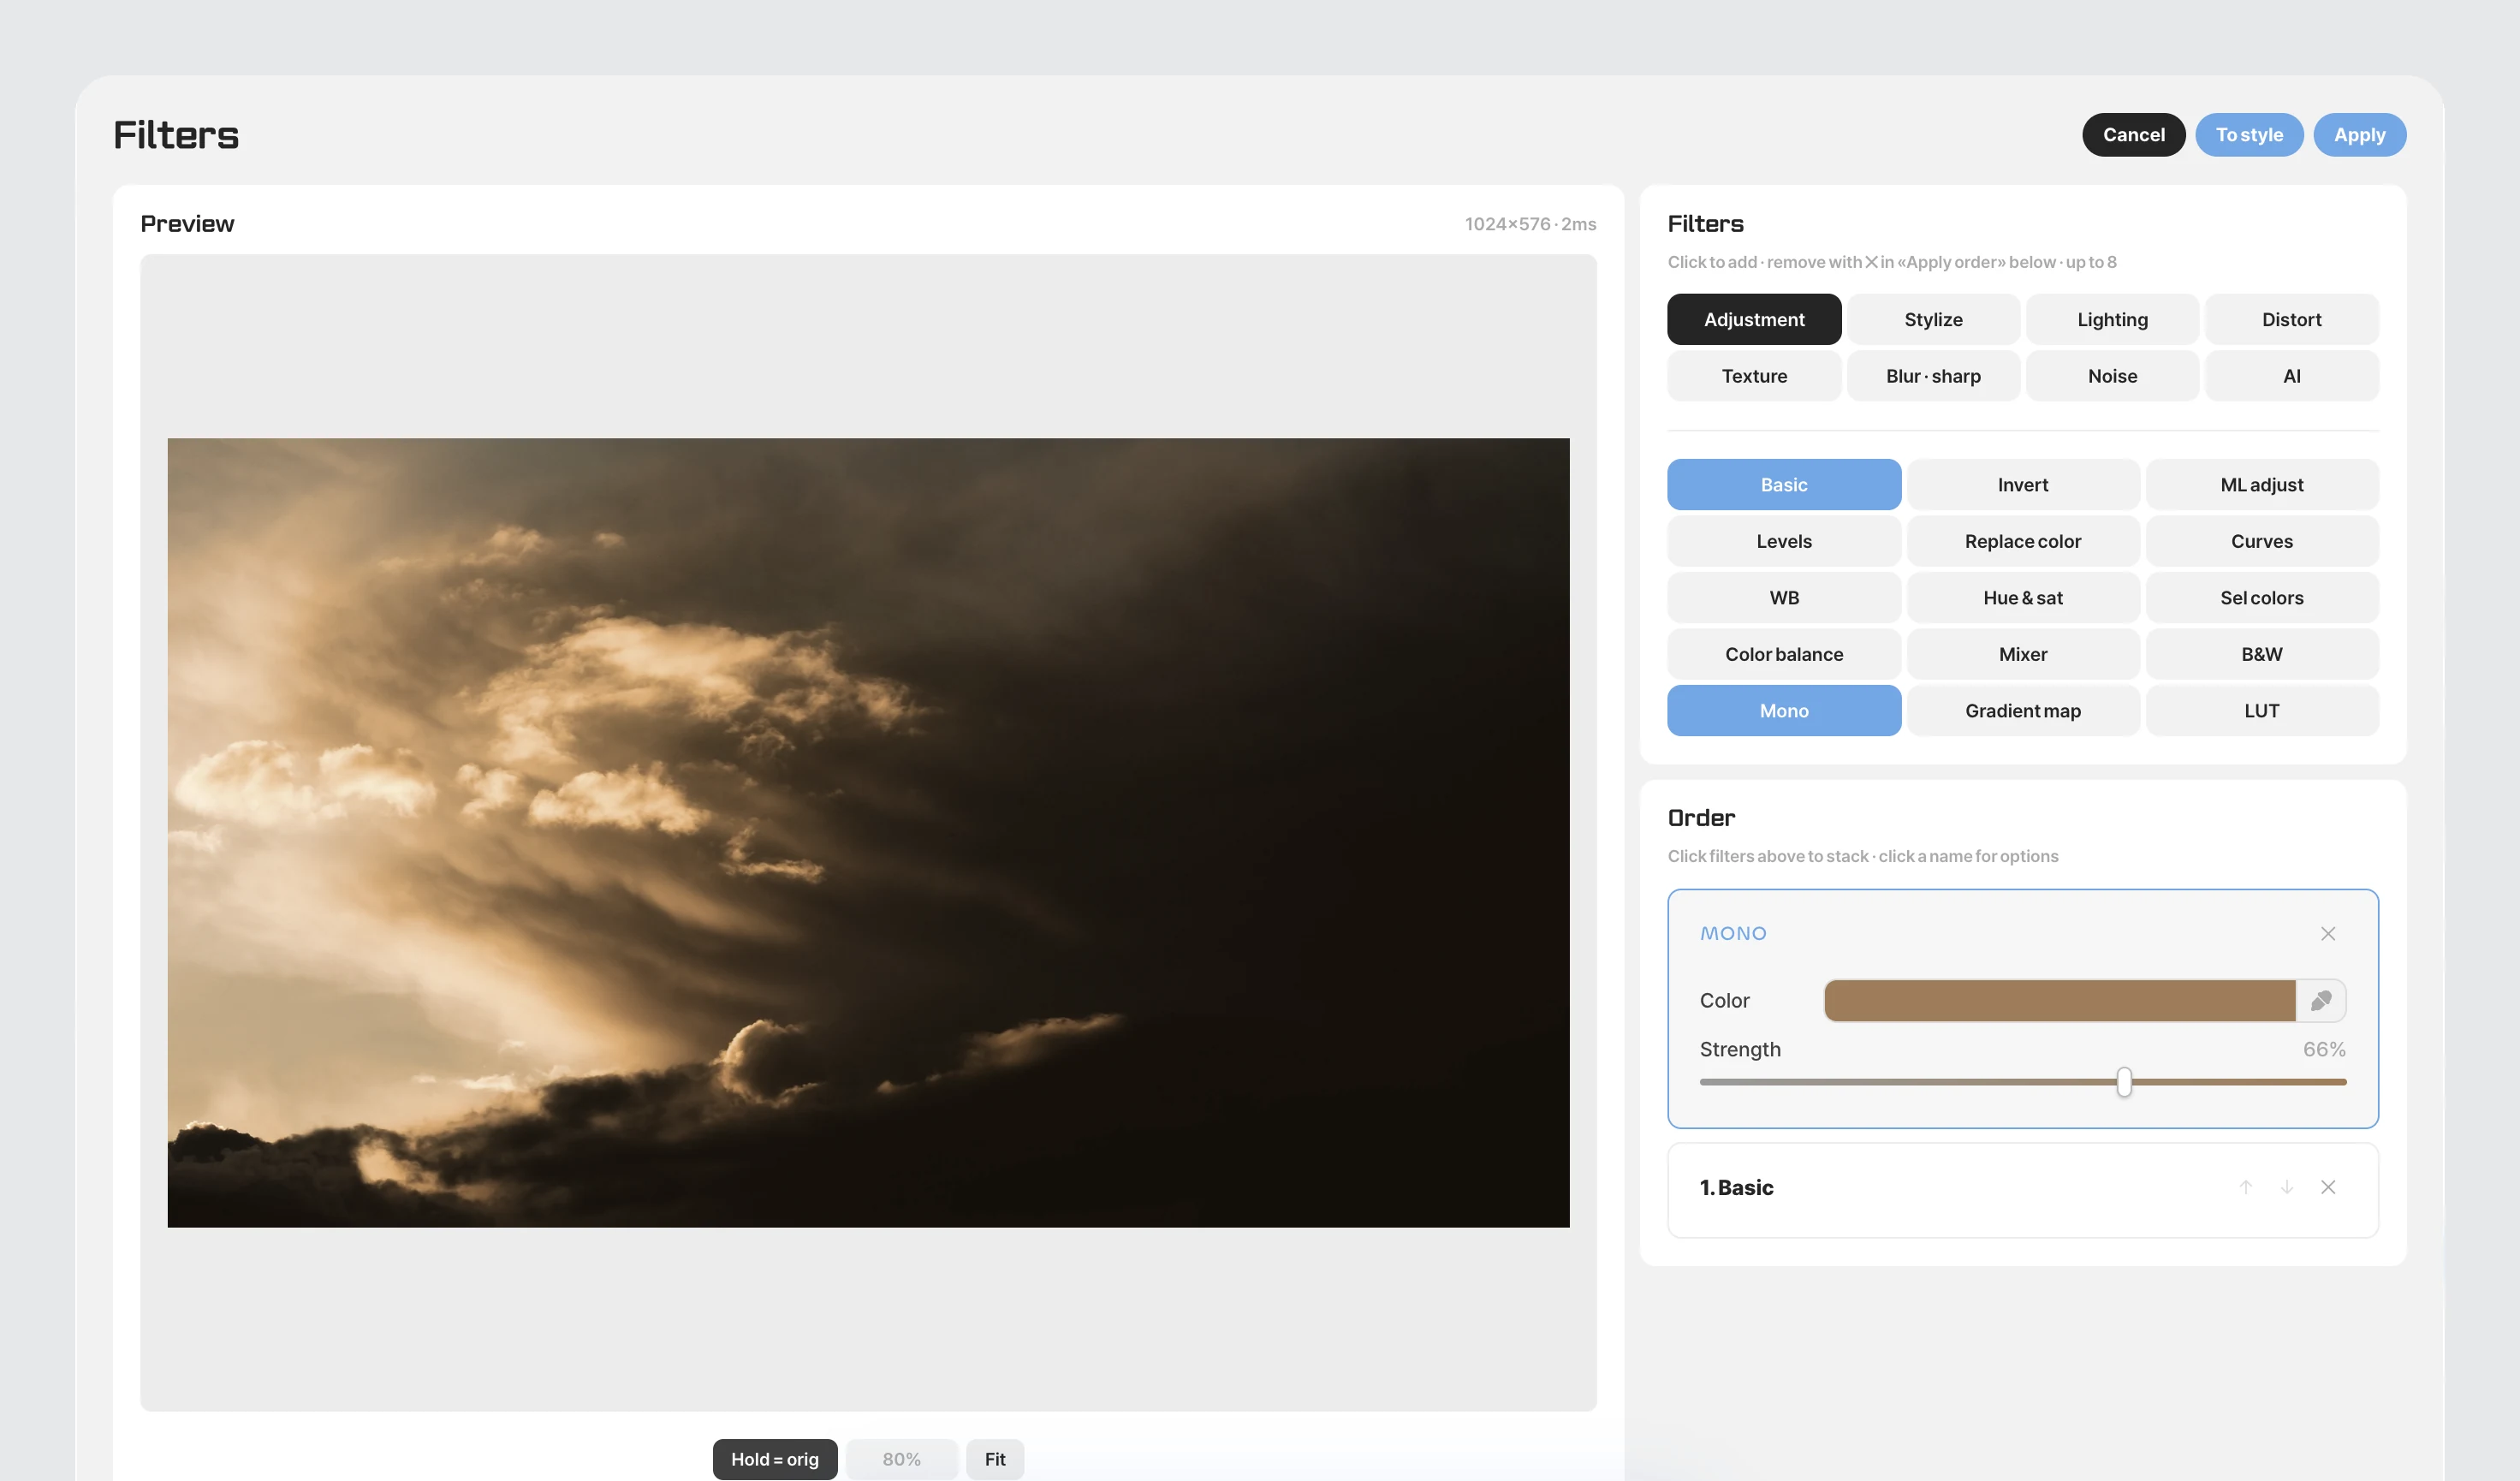
The Distort group has Liquify, which pushes and pulls shapes, plus effects such as twirl, ripple, spherize, glass and kaleidoscope. The AI group has style transfer, line art, colorize, lens blur, denoise and deblur, sky replace and skin retouch. To flatten several images into one, use ⌥⌘E (merge down).