Fill and stroke shape most of a design's impression. Opkle Editor supports gradients and image fills as well as solid colors, and stacks of fills and strokes, so a single shape can carry a rich look.
Changing the fill
Select a shape or text and click the color chip in the Fill section on the right to pick a color, or type a color code in the field next to it. The fill title row has four buttons: Gradient adds color stops to make a gradient, Image fill fills the shape with a photo, ⁘ opens your saved fill styles, and + adds another fill layer.
Fills can be stacked, with upper layers drawn over lower ones. Putting a translucent color over a gradient or a color wash over a photo takes just one shape, with no need to stack many layers. Hide a layer for a moment with its eye icon or remove it with −. To set a gradient's direction by hand, drag over the shape with the Gradient tool in the bucket group; hold ⇧ to snap to 45° steps.
Line and the stroke options window
The Line section sets color and width. For more detail, click the gear in the Line title row to open the large Stroke opts window (right-click Transform › Stroke opts opens the same window). Edit while watching the preview on the left, and to compare with the original, press and hold «Hold = orig». When you're happy, click Apply.
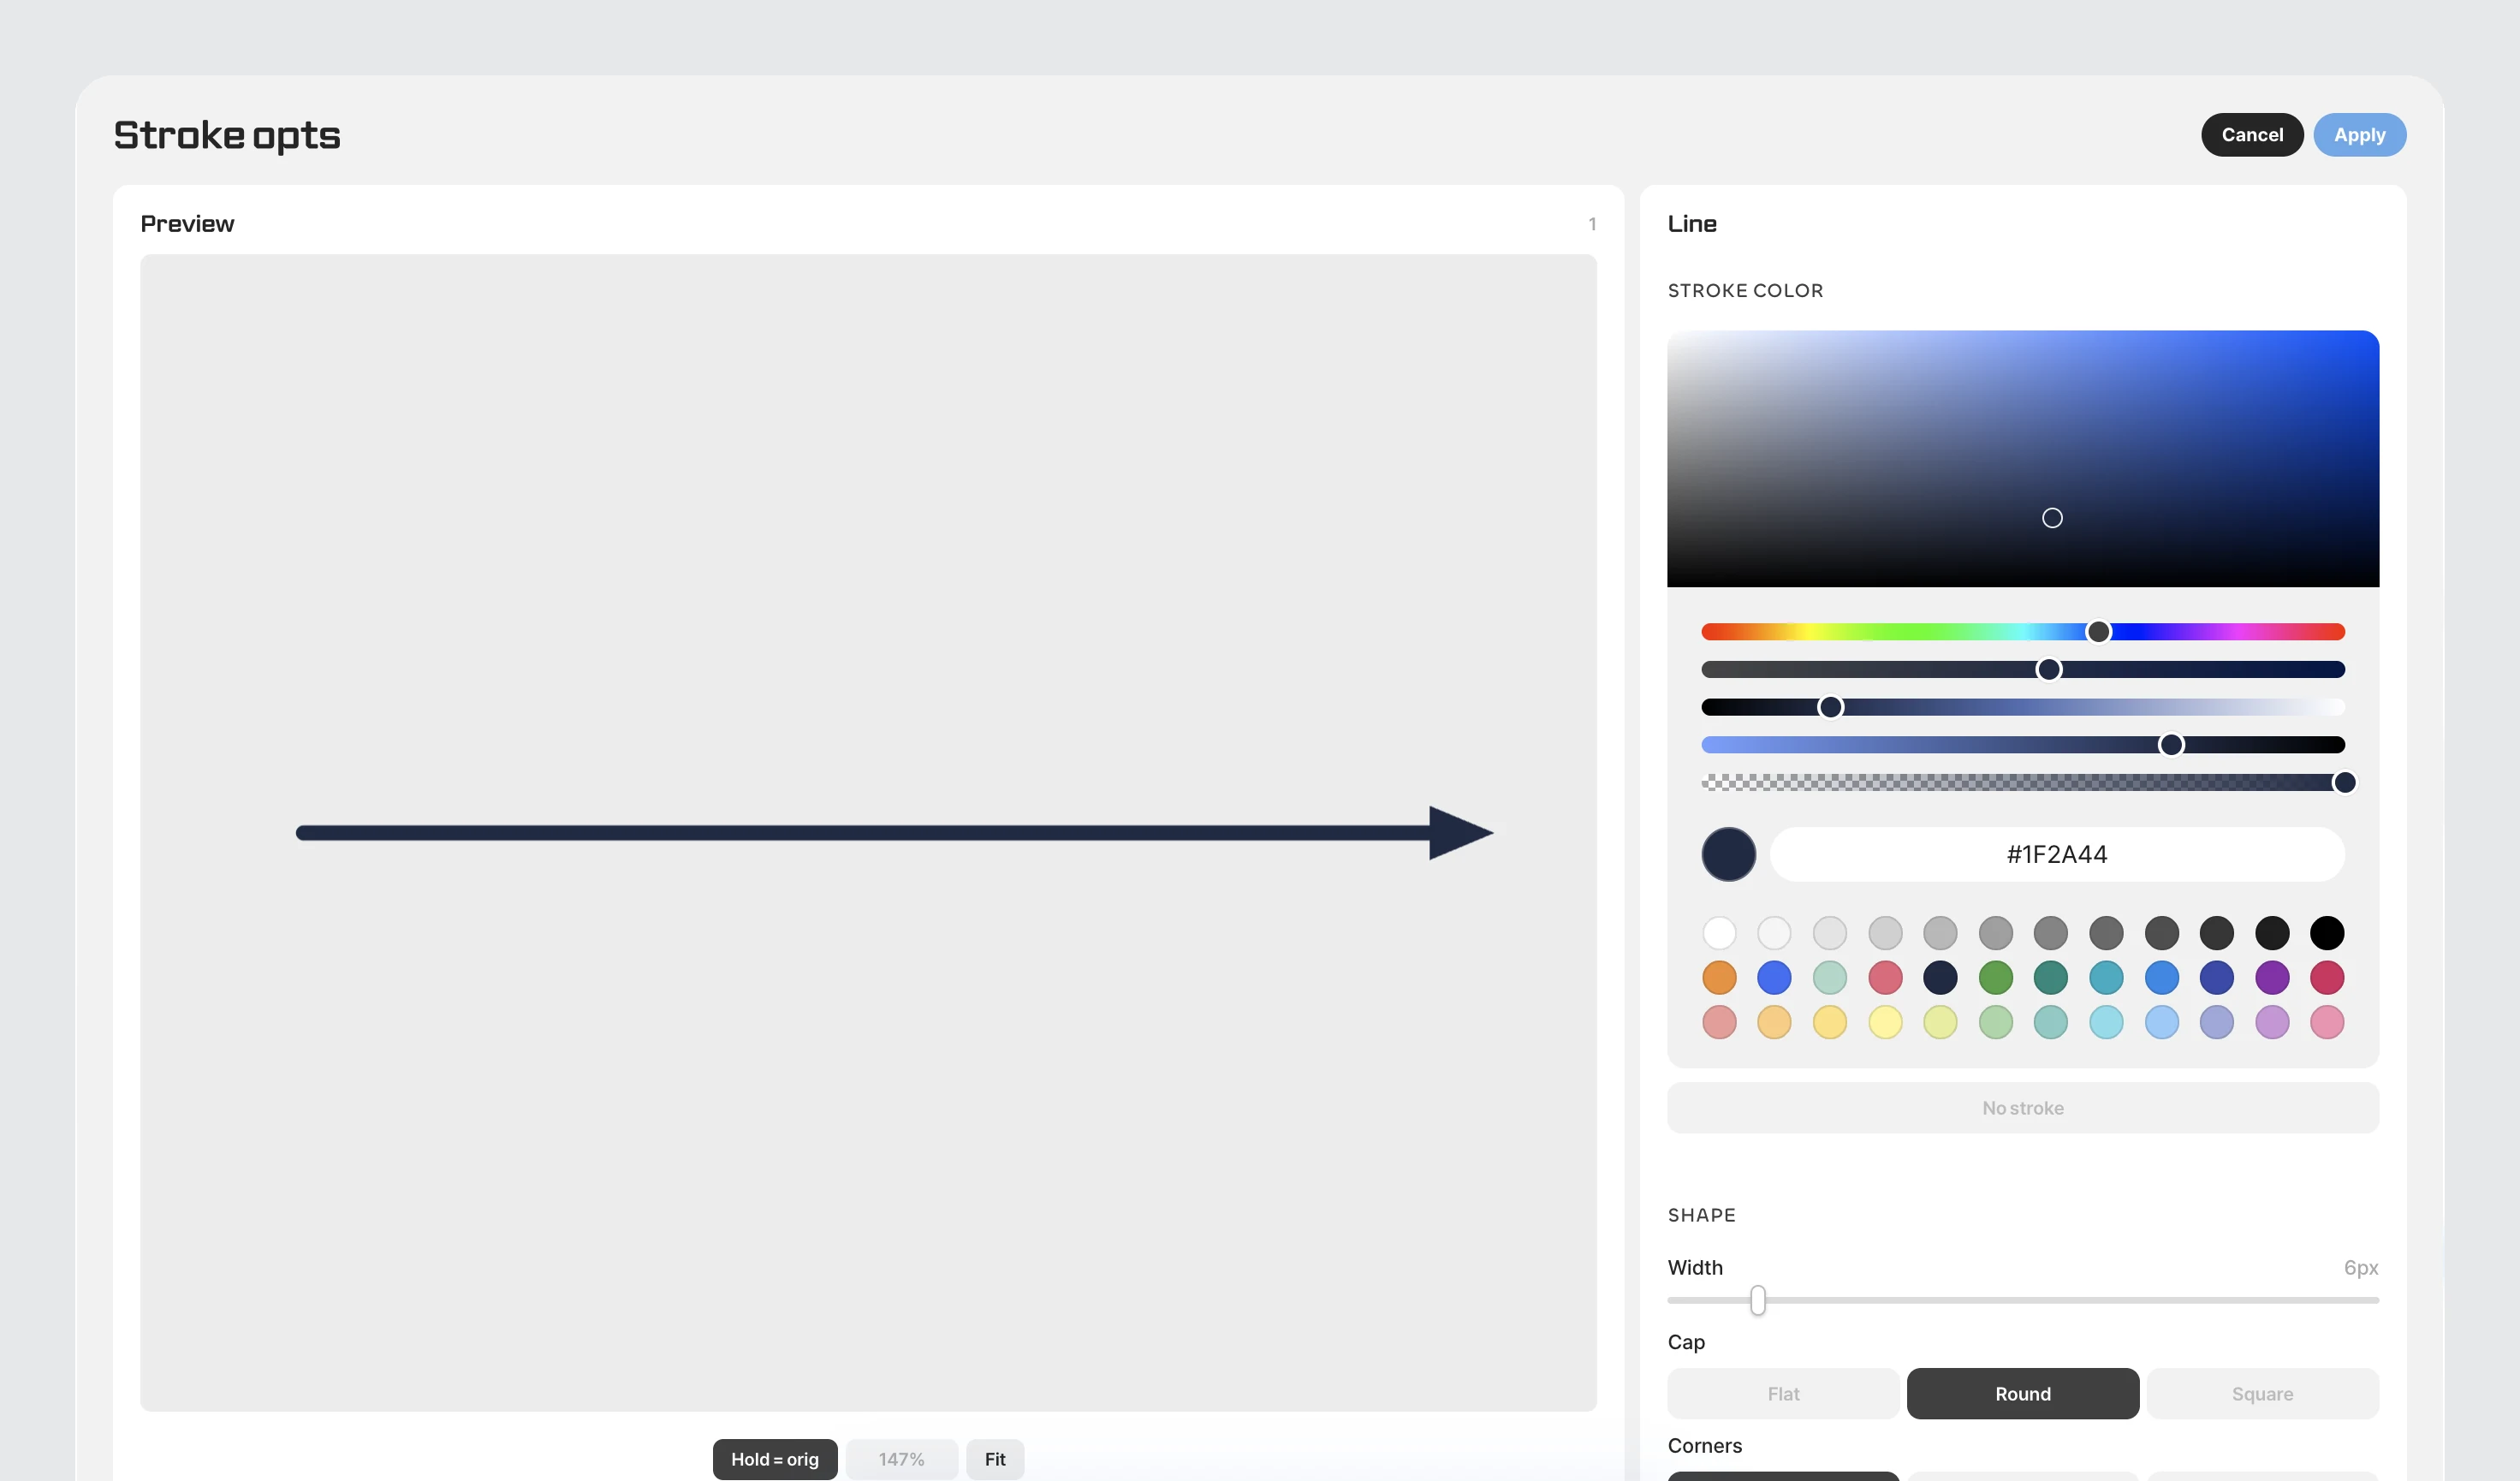
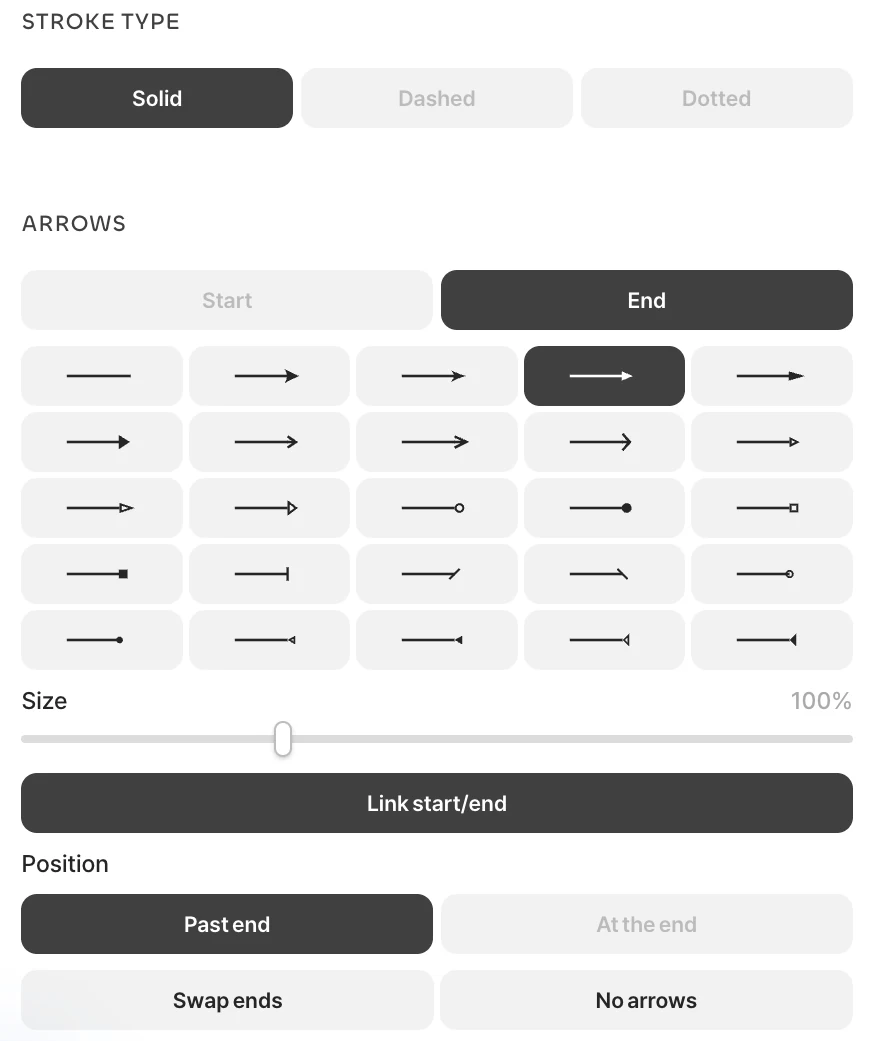
In the stroke options window you can make line ends flat, round or square, and join corners as miter, round or bevel. You can also choose whether the stroke draws above or below the fill, and whether it sits on the center, inside or outside of the outline, and switch between solid, dotted and dashed. Arrowheads are set separately for the start and end from twenty-five shapes, with size and position (past the end or at the end), which is useful for diagrams and guide graphics.
When you need to turn a stroke into a filled shape, choose right-click Transform › Outline. The stroke width becomes the shape itself, so afterward you can give it a gradient like a fill or combine it with other shapes using Pathfinder.
Opacity and blend modes
Move the Opacity slider, or press a number key with an element selected (1 is 10%, 0 is 100%). Under Mode, choose a blend mode such as Multiply or Screen to change how colors mix with the elements below. When tinting a photo to change its mood, try switching between Multiply and Screen to feel the difference.
Moving colors and looks
Click anywhere with the Picker (I) to make that color the selected element's fill, or click with the Style picker to bring over an element's whole fill, stroke and effects. Hold ⌥ to go the other way, and ⇧ to copy only the color. To reuse a look you've built in several places, copy it with ⌥⌘C and paste it with ⌥⌘V. To select all elements with the same fill, stroke or font, find and run «Same fill» and similar commands from quick actions (⌘/).