Select a photo and the adjustment sections run down the right inspector. Adjustments sit on top of the original, so you can change them later or reset to compare, and you can freely try different values. There are many sections, but they're ordered top to bottom as «overall → brightness → color → mood», so working down from the top finishes the photo naturally.
One-click fixes
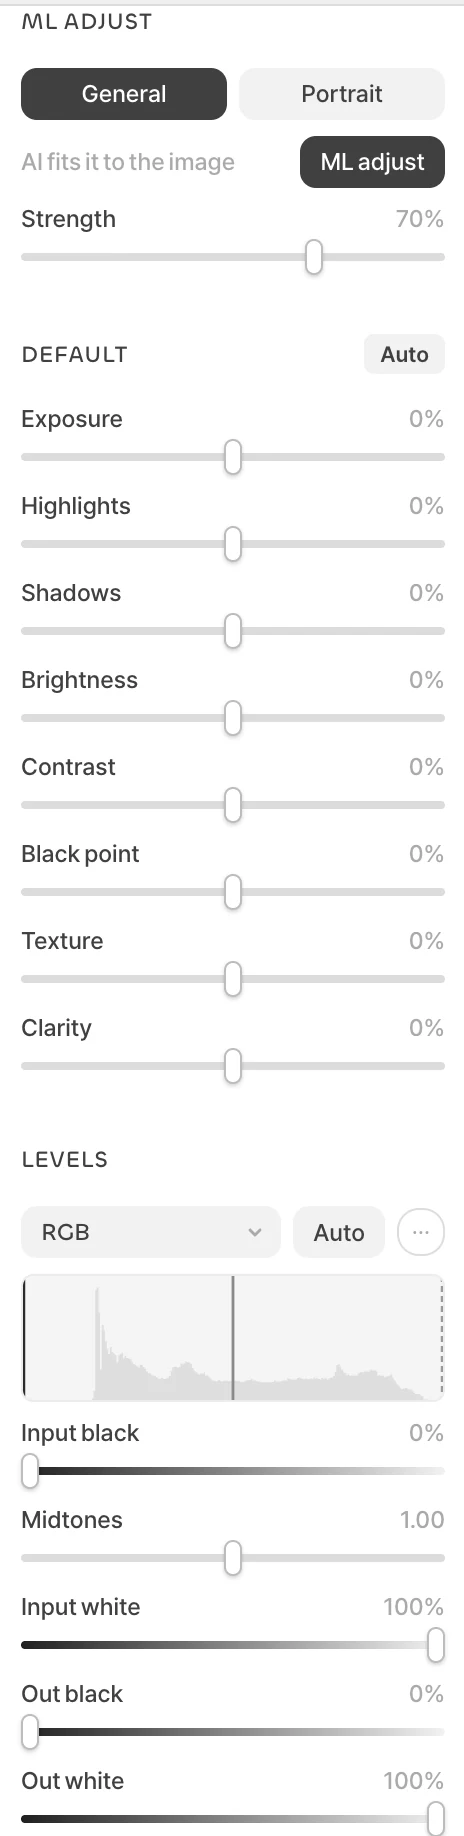
If you're not sure where to start, try ML adjust first. Choose General or Portrait and click ML adjust, and AI looks at the photo and sets color and brightness, with Strength to control how much is applied. The calculation runs on your computer, so the photo never leaves it. The Auto button in each section also sets that section's values to suit the photo.
Brightness and contrast
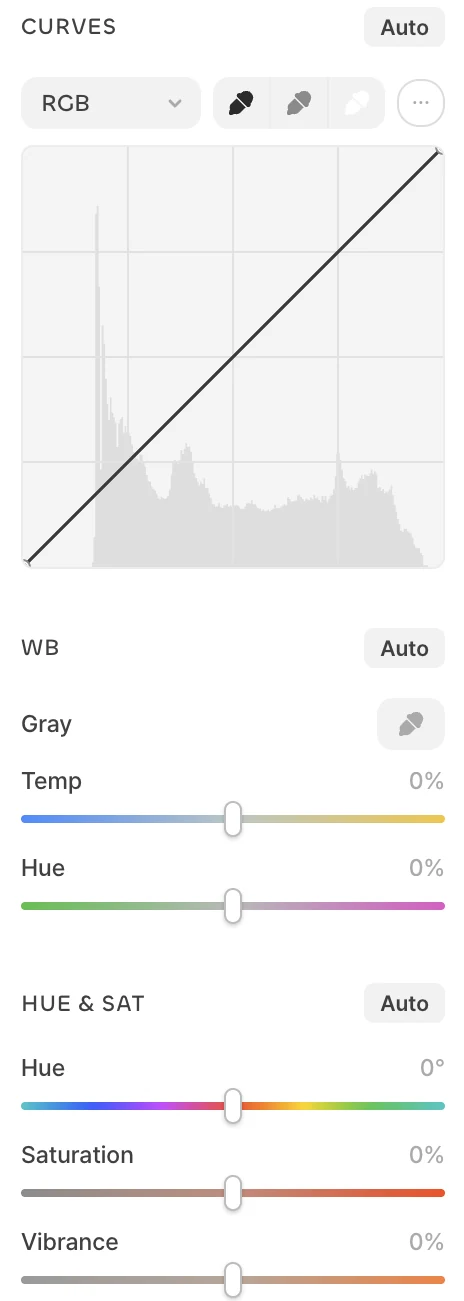
The Default section handles exposure, highlights, shadows, brightness, contrast, black point, texture and clarity. Rescuing a dark photo or recovering a blown-out sky is mostly solved here. For finer control, use Levels to set input and output black, white and midtones while watching the histogram, or Curves to shape light and dark areas separately by dragging the line.
Fixing color
Fix yellow or blue casts in WB by clicking something that should be gray with the eyedropper, or by moving temperature and tint. Hue & sat rotates or intensifies the whole photo's color, and Replace color swaps a color you pick with the eyedropper for another. Use Sel colors to touch only a specific color like red or sky blue, Color balance to shift tints in shadows, midtones and highlights, and Mixer to blend channels into new colors.
Changing the mood
B&W sets brightness per color for distinctive black and white, Mono tints with one color, and Gradient map maps brightness onto a gradient of two or more colors. They're great for strong moods like posters and album covers. Apply your own color grading files (.cube) with Load in the LUT section and set the strength. Filter + adds effects such as black and white, sepia, pointillism, halftone, oil paint and charcoal, and Noise adds film-like grain.
Straightening and turning into vectors
Documents or signs shot at an angle can be straightened with Edit warp. To turn a hand drawing or logo photo into vector shapes, use Trace at the very bottom. Choose black and white (potrace) or color, set the threshold, speckle removal, corner threshold and minimum length, then click Run tracing to get shapes that stay sharp at any zoom. If the result is too complex, raise speckle removal and minimum length to cut down small pieces.
Stacking and reusing adjustments
To apply the same adjustment to several layers at once, right-click an empty spot in the layers panel and choose Create › Adjustment. The adjustment applies to all layers below without touching the originals. Save adjustments you like in Styles › Adj style to give other photos the same look in one click.