



Receiving a PSD file and not having Photoshop is a more common predicament than you'd think. An outsourced designer hands over the original as a PSD, you need to tweak a banner you made a while back, or you have to pick up a file a colleague was working on. Open it in a photo viewer and it shows as a single picture, and you can't change a word or move a layer. In the end you start wondering, “Should I subscribe to Photoshop for just a month?”
A PSD isn't a simple image file. Inside it are layer upon layer of layers, masks, layer styles like shadows and strokes, and adjustment layers that change the colors of the layers below. So “opening” a PSD should mean not just seeing the picture but being able to edit it again with those layers intact. Seeing only the picture and having the layers alive are entirely different things.
In this article, we look at what you can expect, and what you should check, when handling a PSD without Photoshop.
1.First, understand what's inside a PSD.
2.Learn how to open it with layers intact and what to do after opening.
3.Pair up the features you used in Photoshop with where they are now.
4.Follow a few common edits through real situations.
5.Go over the ways to save as PSD again or export in other formats.
A PSD Is a Record of Stacked Work
Most Photoshop work is done by stacking layers. You lay a color wash over a background photo, place text on it, add a shadow to the text, and finally match the overall color feeling with an adjustment layer. A PSD saves this process as it is. So even if it looks like a finished picture, when you open it, which layers were stacked in what order and where things were hidden by masks are all still there.
That record has to stay alive for edits to be easy. Swapping only the background photo, changing only the text color, or brightening only the overall tone takes a few clicks when the layers are alive. If the layers were flattened into one image, though, the same edit becomes nearly as hard as starting over. So when choosing a tool for handling PSDs without Photoshop, the first thing to look at is “how much of the layers come in alive.”
Masks and adjustment layers matter for the same reason. A mask doesn't erase part of a photo but hides it, and an adjustment layer doesn't change the original's colors but lays a correction over them. When these two are alive, you can reveal the hidden part again or change the strength of the correction at any time. This way of editing without harming the original is commonly called non-destructive editing, and whether it carries over when a PSD is opened in another tool determines your freedom to edit.
Open It With Layers Alive, and Continue Right There
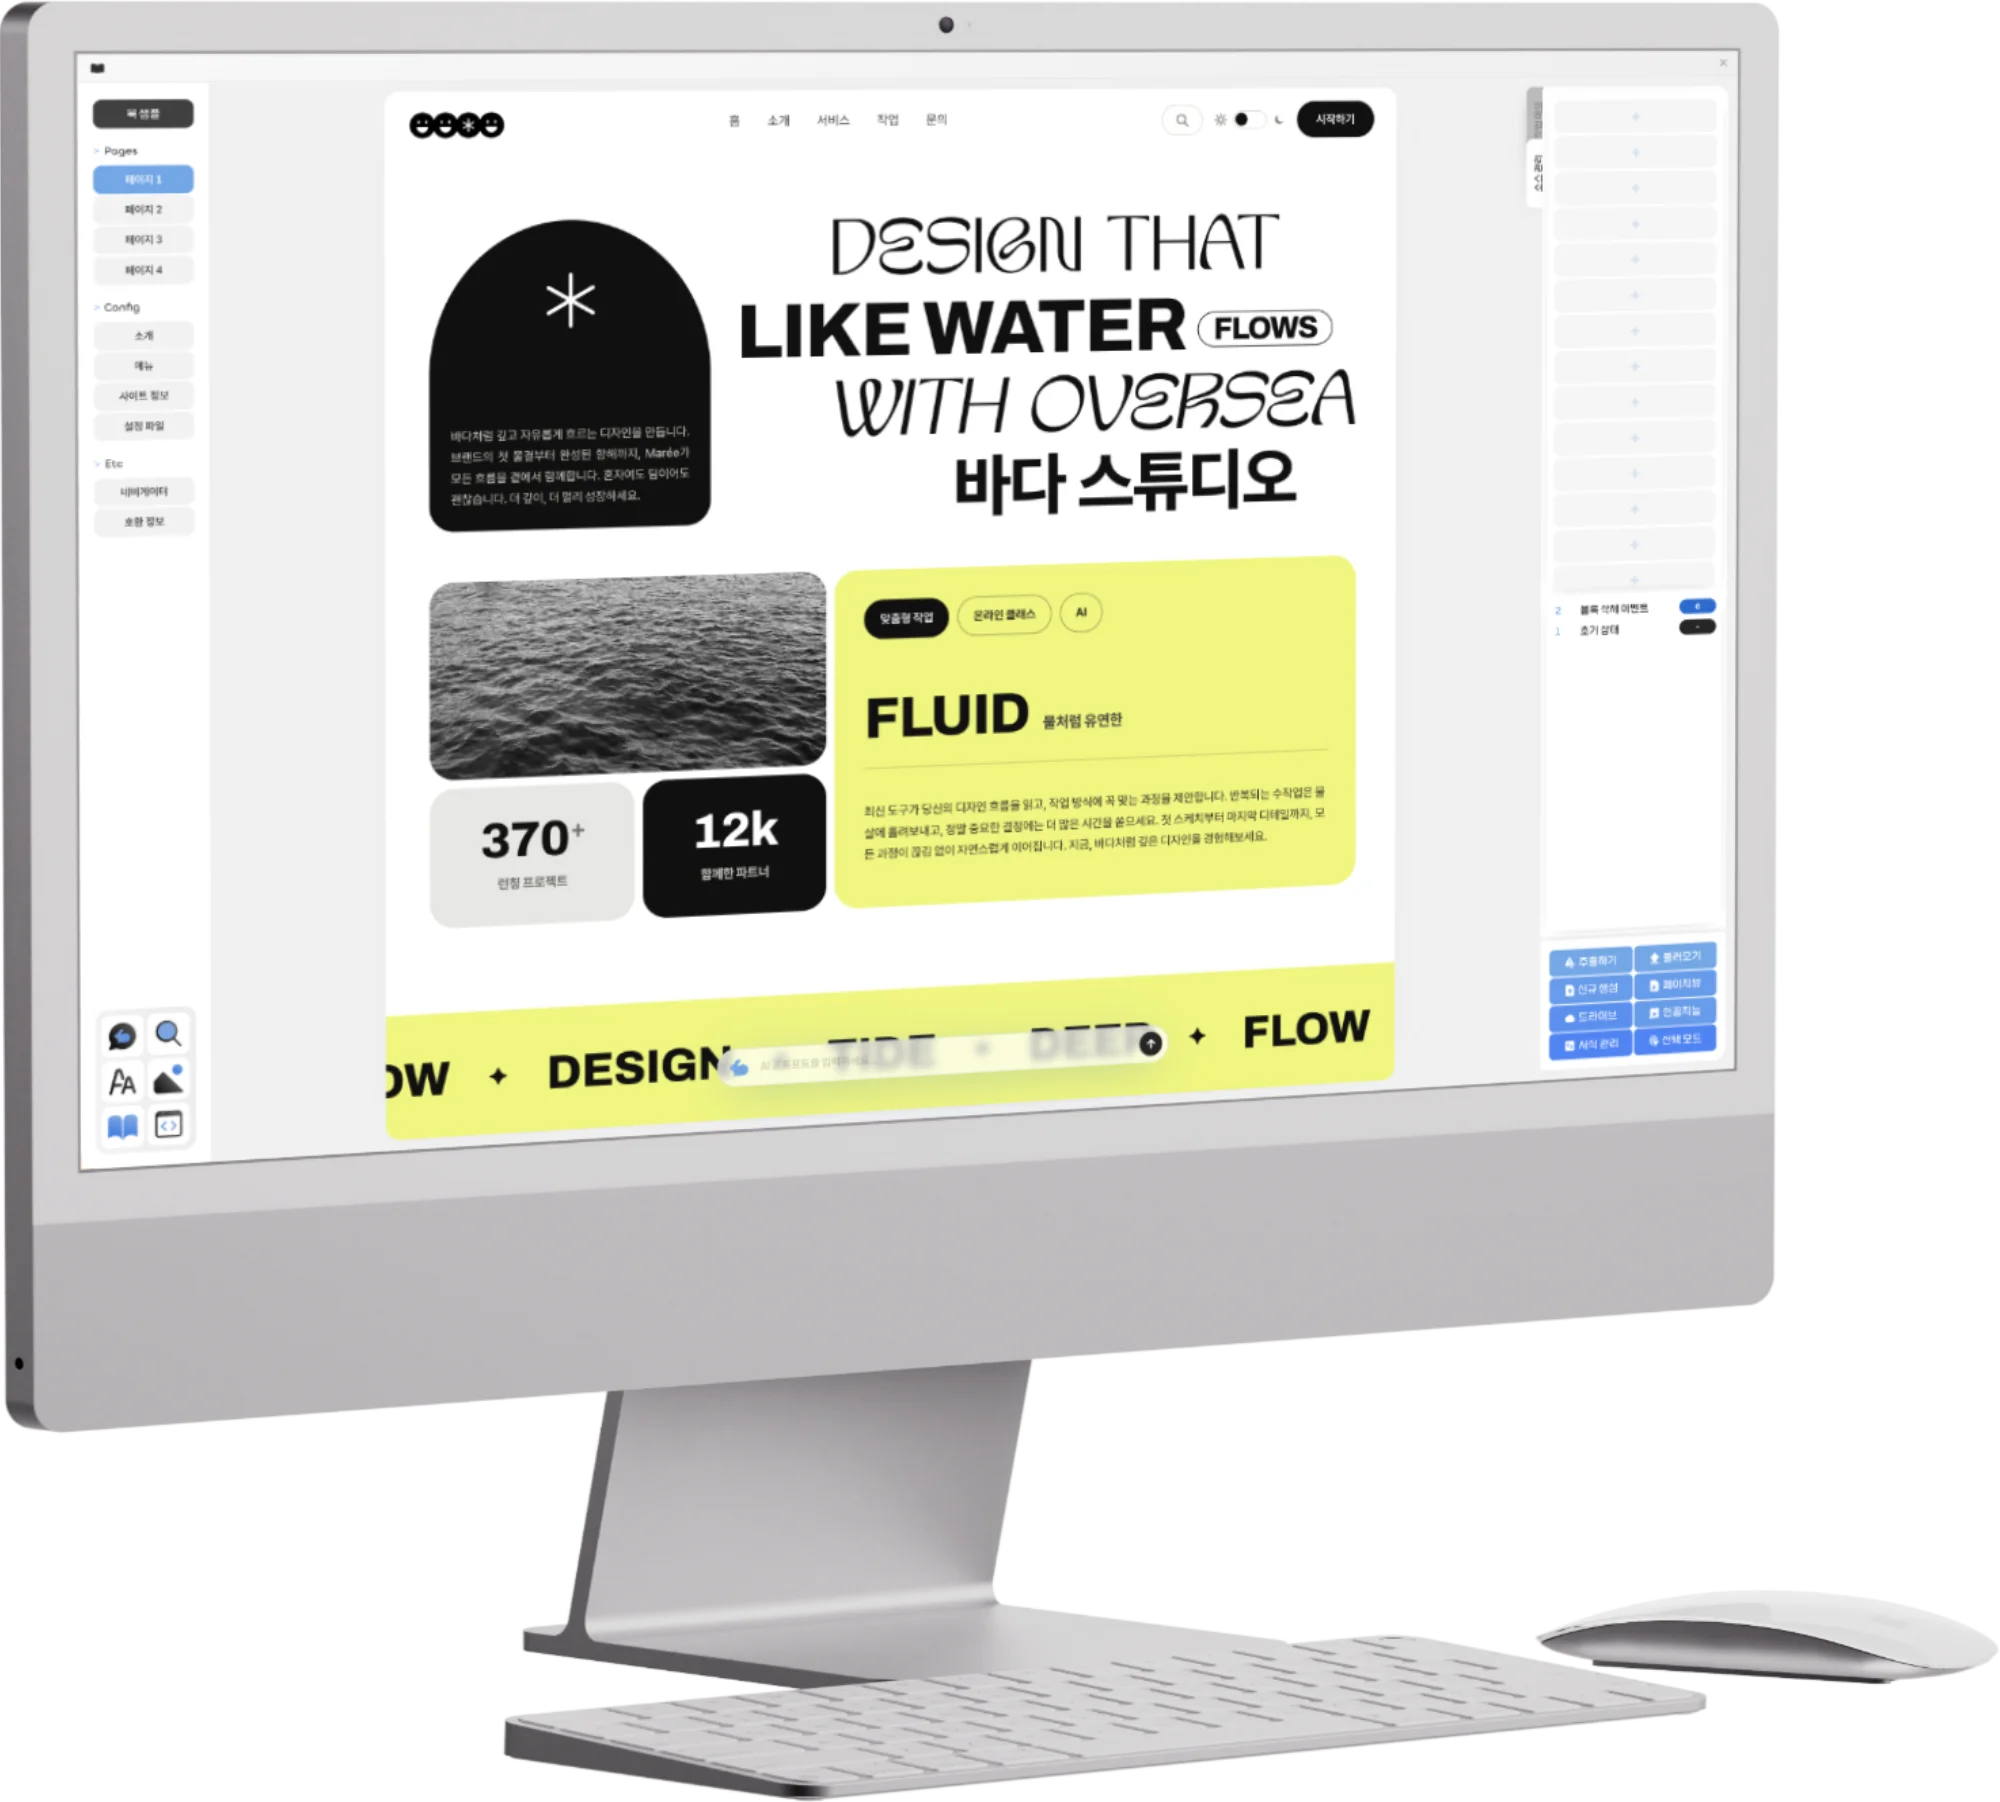
In Opkle Editor, just drag a PSD file onto the canvas and it comes in with its layers alive. Layer masks, layer styles, and adjustment layers come alive too, so you can continue the work you did in Photoshop in a similar structure. The Layers window on the left lists the layers in the order they're drawn from the front, and you can hide or lock each one with the eye and lock on its row.
After opening, it's good to check the important parts once. If a font is used that isn't on the computer you're using, another font may appear in its place, so drag the font file onto the canvas to add it and then pick it again in the Text section. A file with very complex effects may look slightly different from the original, so for parts that must be exact, like a cover or logo, it's good to get in the habit of comparing them side by side with the original image. If you find a file that looks different from the original, letting the community know helps improve things.
If you have brushes from Photoshop, you can bring in brush files (.abr) as they are. Drag an .abr file onto the canvas and nothing is placed on the canvas; instead it goes into the brush list of the Brush tool. Being able to keep painting with brushes your hand knows makes a bigger difference than you'd expect, especially for people doing illustration or retouching.
Where Is What You Did in Photoshop?
Once you've opened a PSD, it's time to find the familiar work. Fortunately, most features with the same names are in similar places.
Layers and adjustments
Layers and adjustment layers are handled in the Layers window on the left, and right-clicking an empty spot lets you create an adjustment layer.
Layer styles like shadow, glow, and stroke are in right-click Settings › Layer Styles.
Layer masks are made with Add Mask · Hide All in the Mask group of the photo's right-click menu.
Levels, curves, color balance, channel mixer, and gradient map are in the adjustment sections that appear when you select a photo.
Painting and retouching
Tools with the same names as brush, eraser, stamp, healing, patch, and dodge and burn are right there.
Selection tools are gathered under Pixel Selection (W), from rectangle, ellipse, and magic wand to Select Subject, Object, and Sky.
The filter gallery and liquify can be found in the toolbar's filter window.
The biggest difference is that you can handle vectors and photos together on one screen. In Photoshop, after correcting a photo, you often bring in a logo made in another tool to put on it, but here you can lay shapes drawn with the pen and live text straight onto the corrected photo. Text doesn't harden into an image, so you can change its content and font at any time even after you've finished.
Common Edits, Done This Way
Most of the time people open a PSD because “I just want to change a little.” Following a few edits that people make often makes it clearer what it means for the layers to be alive.
Changing only the date on an event banner. Find the date text layer in the Layers window and select it, press Enter to go into text editing, and change just the numbers. If the font looks different, add the font file and pick it again, as mentioned earlier. The background and shadow stay as they are, so there's no need to remake the whole banner for one date.
Swapping only the background photo for another. Drag the new photo onto the canvas, move it in the Layers window to just above the original background photo, and hide the original with the eye icon. If the new photo doesn't match the format, select it and press C to crop, or use Canvas Cover in the right-click Resize group to make it cover the artboard with no gaps. The text, color wash, and adjustment layers that sat on top keep working on the new photo as they are.
Changing only the overall tone a little. If an adjustment layer is alive, just select that layer and change its values, and you're done. If there's no adjustment layer, right-click an empty spot in the Layers window to create a new one and overlay the correction on all the layers beneath it. The original layers aren't touched, so if you don't like it, just delete the adjustment layer.
Back to PSD, or in a Format That Fits the Use
Once the edits are done, choose the way out according to where the result will be used. If you need to hand it back to a colleague who uses Photoshop, you can save as PSD. Because the layer structure remains, the recipient can keep working from it too.
For an image going on the web or social media, choose one of PNG, JPG, or WebP in Export at the bottom right. If you need a transparent background, choose PNG or WebP, and if you want to upload a color-rich image like a photo at a light size, choose JPG or WebP. For a file going to a print shop, it's safer to set the resolution marker (DPI) to 300 or 350 or export a print PDF.
Opening a PSD is, in the end, also a way of respecting earlier work. When you can inherit and edit the structure of the layers someone carefully stacked, without crushing them into a single picture, and hand them back, collaboration continues naturally. That flow doesn't have to be broken just because you don't have Photoshop.
Key Takeaways
A PSD is not one picture but a record of work stacked from layers, masks, styles, and adjustment layers.
When handling a PSD without Photoshop, first look at how much of the layers come in alive and whether non-destructive editing carries over.
In Opkle Editor, dragging a PSD in opens it with layers alive, and .abr brushes can be brought in as they are.
Common edits like changing a date, swapping a background, and adjusting tone take a few clicks thanks to the live layers.
When the edits are done, save as PSD again or export in a format that fits web or print use.
© Abstract Cloud. All Rights Reserved.
+82 10-2747-3403
are copyrighted by Opkle.