



The moment people switch design tools usually starts with discomfort. The subscription fee has become a burden, moving between several tools has worn you out, or your team's way of working has changed. But once you actually open the new tool, other worries come first. What if the shortcuts your hands know don't work? Will my old files open? Will I wander around not knowing where the same features are?
Moving tools is less about learning something new from scratch and more about putting concepts you already know in a new place. Concepts like artboards and frames, layers and components, the pen and pathfinder don't change much from tool to tool. Only the names and locations differ a little. So what you need when switching isn't a mindset of learning everything over, but a map: one that tells you what moved where.
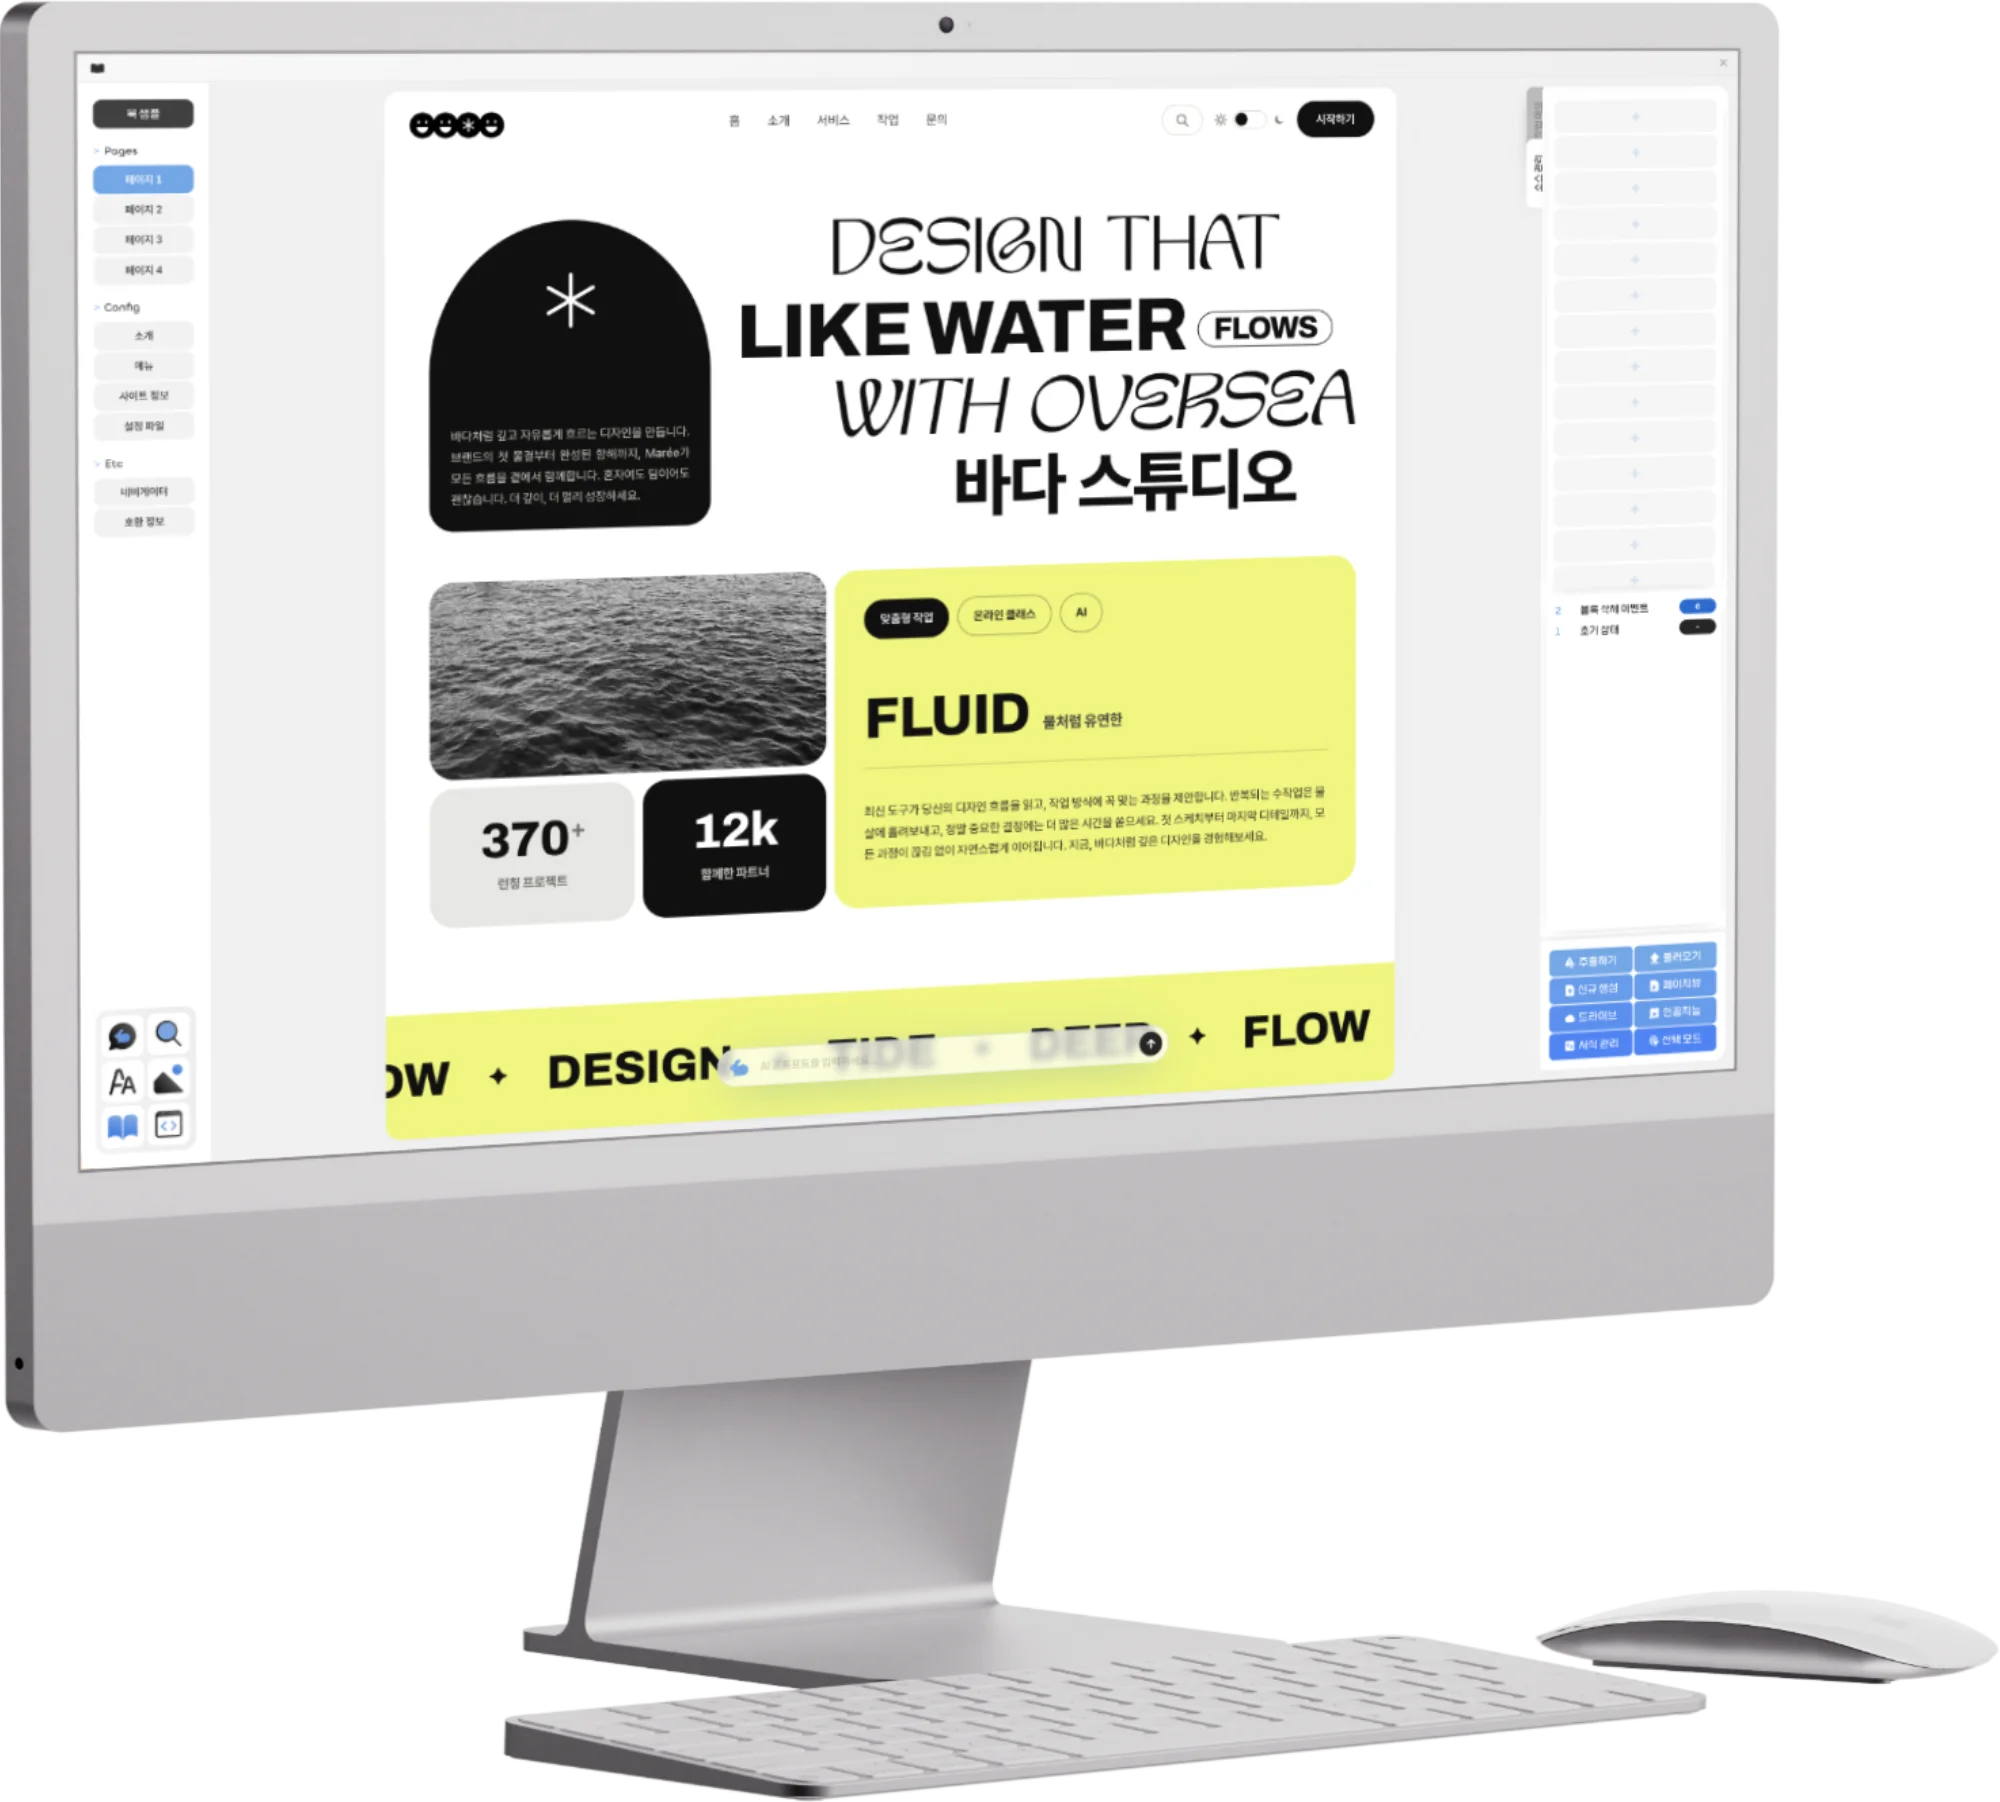
In this article, we pair up things worth knowing, tool by tool, for people coming to Opkle Editor from Figma, Illustrator, or InDesign.
1.Where the frames, auto layout, and components you used in Figma are.
2.Where to find Illustrator's pen, pathfinder, and stroke panel.
3.What comes along when you bring over InDesign documents.
4.Tips for wandering less in the first few days and an order for moving over.
If You Used Figma — Frames and Components Stay the Same
What people coming from Figma will welcome most is the shortcuts. Opkle Editor follows Figma's shortcut scheme, so most of the time you can press the keys as you always did and they work. Quick Actions is ⌘/ just as in Figma.
Make frames with the artboard and frame tool (A · F), or wrap elements you've already drawn into a frame with ⌥⌘G. When you select a frame, clipping, auto layout settings, and layout grids appear in the inspector, and ⇧A turns on auto layout directly. Constraints are in the inspector's constraint settings. Make components with ⌥⌘K and detach them with ⌥⌘B, and take the components you've made from the Assets window. Color styles are the fill styles in the Fill section, and you can also make color variables with two values, light and dark.
You can bring over your Figma files too. When you open a Figma file, top-level frames come in as artboards, with components and instances still linked to each other. You can also copy elements in Figma and paste them straight into Opkle Editor, which is handy when you want to move only the parts you need rather than the whole file.
Those used to Figma gain something new as well. On the same canvas where you did screen design, you can deeply correct photos, paint pixels directly, add animation, and export to video. The process of polishing photos in another tool and bringing them into a mockup comes inside one screen.
If You Used Illustrator — Artboards Stay Artboards
Illustrator's artboards are simply called artboards in Opkle Editor too, and the same idea holds: you can place several artboards of different sizes on one canvas and work on them together. The pen tool is Path (P), and for direct selection, select a path and press Enter or use the node selection tool. Dragging the handles that extend from points to refine curves works just as you're used to.
For pathfinder, choose subtract, intersect, or unite from the group of the same name in the toolbar, while offset path, simplify, average, and join are gathered in the path handling group. Blend and repeat are in the pathfinder group, and transforms such as perspective and puppet are in Warp. What you did in the stroke panel, such as end caps, corners, dashes, and arrowheads, is done in the stroke options window, and the eyedropper you used to carry a look to another element is replaced by the style picker or ⌥⌘C · ⌥⌘V. Image Trace is the vector tracing that appears in the inspector when you select a photo.
Drag an Illustrator file (.ai) onto the canvas and one artboard is made for each page, so even multi-page documents spread out as they are. SVG and PDF come in the same way, and SVG opens not as a picture but as shapes you can edit one by one. You can also paste graphics copied from Illustrator or Keynote, so for moving small pieces you don't even need to open the file.
If You Used InDesign — Pages and Text Flow Come Along
If you've been making books, magazines, or brochures in InDesign, Opkle's layout module takes over that role. Save an InDesign document as IDML and open it, and the pages, text boxes, and the text flow running through multiple boxes all come along. Because the links between text boxes stay alive, even if you edit a sentence earlier on, the text pushes naturally into the later boxes.
You can export the finished document as PDF and EPUB, which means you can make the print version and the on-screen ebook from the same source. Within the same project, you can move back and forth, handling the graphics for the cover and interior on the canvas and the page arrangement in the layout, which reduces the trouble of managing graphics and editorial design separately. When setting artboard sizes, you can also pick Korean book trim sizes such as Singukpan, Gukpan, and 46-pan directly from the presets.
Tips for Wandering Less in the First Few Days
The fastest way to get used to a new tool isn't memorizing every menu but getting a few ways of finding your way into your hands.
Ways worth remembering
When you don't know what to do, try right-clicking that spot. Most features are gathered in the right-click menu.
For a command whose name you know, type just a few letters in Quick Actions, opened with ⌘/, and run it right away. Each row shows its shortcut too, so it naturally gets into your hands.
Move the view by holding Space and dragging, and gather all artboards onto one screen with ⇧1.
Settings like whether the wheel zooms or snapping is on can be adjusted to suit you in Canvas Settings in the profile window, which opens when you click the logo at the top left.
Canvas settings matter more than you'd think. Depending on whether you mainly use a trackpad or a mouse, changing just the wheel behavior changes how natural the tool feels in your hands. If you first set the panning method you were used to in your old tool, the awkwardness of the first few days eases a lot.
Setting an Order for Moving Over Brings Peace of Mind
When switching tools, it's best not to try to move all your work at once. If you move a big project midway, the pressure grows as you chase a deadline in an unfamiliar tool. Instead, try moving the small work first, one piece at a time.
A recommended order
First, make one small new piece, for example one social image, from start to finish in the new tool.
Next, open one of your existing files and check that the layers, artboards, and fonts come in properly.
Store the colors, fonts, and parts like buttons you use often again as styles and components.
Once you're comfortable, move your in-progress work over one piece at a time, and back up the project as a .opkle file on important days.
Going through this order, you'll naturally pick up where the new tool is the same as the old one and where it differs. At first, it's also a good idea to open your current tool and the new tool side by side and do the same task in both.
Tools Change, but Design Concepts Remain
Moving tools doesn't mean throwing away the experience you've built up. The sense of grouping parts with frames, managing repetition with components, refining paths to make shapes, and arranging text so it flows works the same in any tool. What the new tool needs to do is make room to receive that sense.
If the move feels daunting, try opening just one of your old files first. The moment you see the familiar layers, artboards, and text boxes arrive in place, switching tools becomes a much lighter decision than you imagined.
Key Takeaways
Moving tools is less about learning anew and more about putting concepts you already know in a new place.
Figma users can use the same style of shortcuts and the same frames, auto layout, and components, and bring work over with Figma files and copy and paste.
Illustrator users can find familiar work in artboards, paths, pathfinder, stroke options, and vector tracing, and .ai files spread out as artboards per page.
InDesign documents moved over as IDML bring pages, text boxes, and text flow, and can be exported as PDF and EPUB.
Learn right-click and the ⌘/ Quick Actions, and move over small work first, and the first few days of wandering shrink a lot.
© Abstract Cloud. All Rights Reserved.
+82 10-2747-3403
are copyrighted by Opkle.