


The same design stands out far more when it moves. A social post that stops a scrolling thumb, a book cover slowly rotating at the top of a sales page, a short intro video where a logo appears one letter at a time: all of these work that way. Yet motion graphics still feels like something you'd have to learn a separate professional video tool for, and animated design on the web seems like something you can only make if you know code.
Motion is made of simpler elements than you might think: when something appears, where it moves, how much it grows or shrinks, and when it disappears. Placing those four things on a timeline is what animation is. If you can handle that time inside the design tool, you can add motion right where you made the static design. Just not having to move the file to a video tool and set everything up again makes the work much lighter.
In this article, we look at how to add motion to a design, and show the result in three dimensions, without code or a separate video tool.
1.How to add basic motion quickly with presets.
2.How to create the motion you want yourself with keyframes.
3.How to bring video and animation together in one scene with the video editor and export it as MP4.
4.How to show covers and posters like physical objects with 3D mockups.
5.A walk through making one short social video.
Start With Presets
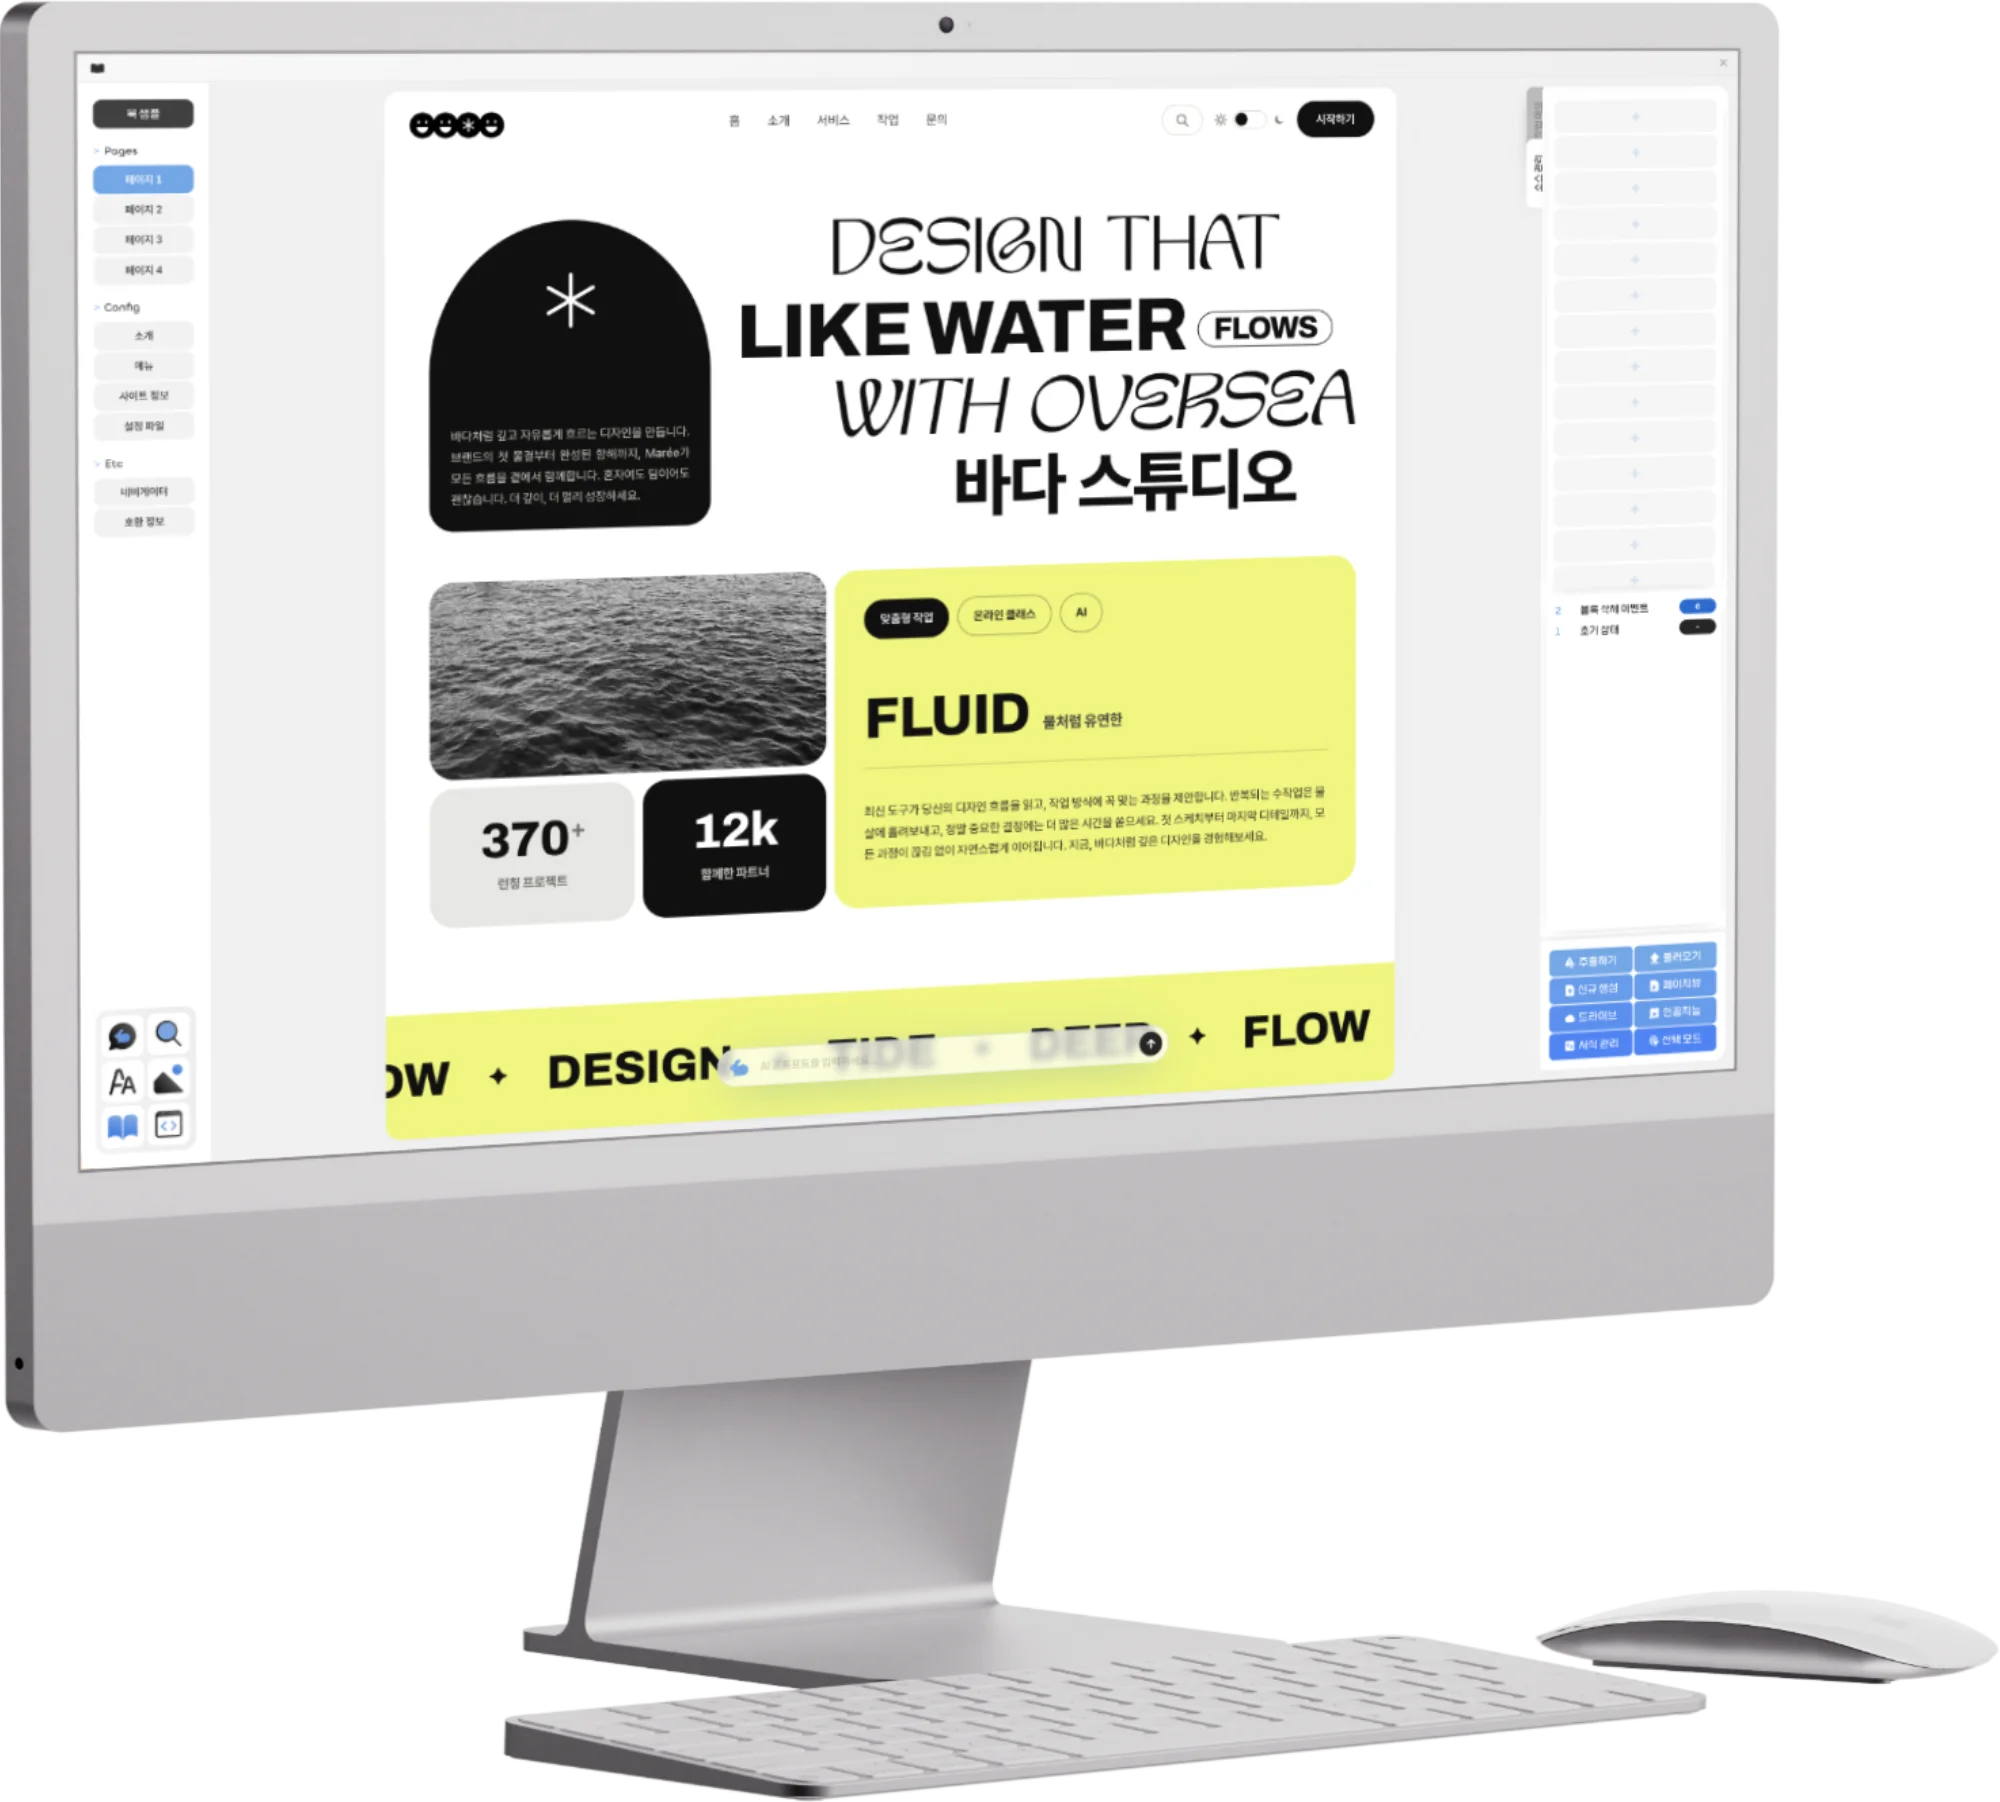
When adding motion for the first time, picking from presets is quickest. In Opkle Editor, select the shape, text, or picture you want to animate and click Animation Settings in the Animation section on the right, and the animation window opens. Hundreds of motions are ready, from basics such as fade in, up, zoom in, bounce, shake, pulse, and spin to entrance, exit, and emphasis families, and they apply the moment you click.
Set the length with Duration and choose in Playback whether it plays once, goes back and forth, or repeats endlessly, and a basic animation is done. You can check it right away with the play button under the preview, and after closing the window, use Play in the inspector to watch the whole motion on the artboard.
If there's one tip for choosing presets, it's to use motions from the same family with slight time offsets rather than giving every element a different motion. The title floats up first, then the subtitle 0.2 seconds later, then the button 0.2 seconds after that in the same way, and the whole screen moves with one rhythm. More motion isn't better; the clearer the order the eye will follow, the better.
The family names of entrance, exit, and emphasis also tell you what each is for. Use the entrance family when first showing something, the exit family just before the scene changes, and the emphasis family, such as pulse or shake, for a button or price that needs to catch the eye while it stays on screen. It's best to have just one emphasis per screen. If several elements are emphasized at once, nothing is emphasized.
Create the Motion You Want With Keyframes
Motions that aren't in the presets are made with keyframes. A keyframe is a point you place on the timeline. Put points between 0% and 100%, set values such as opacity, position, rotation, size, and skew at each point, and the tool connects them smoothly in between. You can even change filter values like blur, brightness, contrast, and saturation, as well as fill and text colors, so you can create effects like a logo color slowly changing or a background going from blurry to sharp.
What determines the feel of a motion is its sense of speed. Even over the same distance, going at one speed from start to end looks mechanical, while starting slowly and stopping slowly looks smooth. You can choose this sense of speed (ease) in Motion Style, and you can also draw the path an element travels with a motion path. In the timeline at the top, you can see each element's timing at a glance and attach the next motion.
Rather than placing keyframes one by one from scratch, the easiest route to the motion you want is to start from a similar preset and then adjust values a little at a time in the keyframes.
Edit With Video and Export as MP4
Animated design becomes far more useful when it meets video. Laying captions and a logo over a product video, or slipping an animated title between short clips, are examples. Click Video Editor in the inspector and the same screen switches to video mode. A timeline appears at the bottom with one track per layer, so you can watch video and animation together and fit them into one scene.
Drag video files (MP4, WebM) onto the canvas or add them with Insert, and you can apply filters and adjustments like a photo, or trim them. When the scene is finished, choose MP4 file in Export at the bottom right and it's made into a video with a long side of 1920px. That's a size well suited to animated covers, promo videos, and short social content.
If you want to reuse the motion you made elsewhere, you can save just the animation settings and later load them as an animation file on another canvas. Use one well-made entrance effect the same way across a whole series, and the brand's rhythm stays intact as the content grows.
Show Your Work Like a Real Object With 3D Mockups
A book cover, poster, or package design conveys a very different feeling when shown as a flat image versus as a physical object. That's why on a sales page or in a portfolio, a book sitting on a desk looks far more convincing than a single flat cover.
In Opkle, you can create a new 3D from the 3D row on the project screen and open the 3D editor. Wrap your own cover or poster design onto a 3D model like a book or poster, set the lighting and camera angle, and make a mockup image that looks real. Because editing the cover and re-wrapping it onto the mockup continue within the same project, the hassle of rebuilding the mockup every time you edit the design is reduced too.
If you want to place a design at an angle onto a sign or screen in a photo, you can also try Warp's perspective transform. Even in a scene with no 3D model, you can lay a design on naturally and make a simple mockup quickly.
Making One 15-Second Social Video
Running through the flow once makes it clear where each feature is used. Take a 15-second vertical video announcing a new book as the example.
First, make the artboard in a 9:16 vertical ratio. The artboard size presets include Instagram and mobile ratios, so there's no need to calculate numbers. Put a short video clip in the background and lay the book image made with the 3D mockup over it. Apply the zoom-in preset to the book, the float-up preset to the title text 0.3 seconds later, and the same preset to the publication date and price another 0.3 seconds later. For the last few seconds, give the pulse emphasis only to the “Meet it now” button.
In the video editor, watch the timeline and match the timing of the background video and the text's entrances, then export as MP4 in Export, and it's done. Without moving between a video tool and a design tool, the promo video is finished within the same project where you made the cover. If the cover design changes, just re-wrap the mockup and export the video again.
Motion Follows the Grammar of Design
The most common mistake in animated design is letting the motion get ahead of the design. If every element pops up, spins, and sparkles at once, you can no longer tell what to look at. Just as hierarchy matters in static design, motion needs order and emphasis too. The most important thing should move first and most clearly, and the rest should support it.
Being able to make motion without code means designers can set that order and emphasis themselves. Once you've gone through the flow of starting with presets, refining with keyframes, matching with video, and finishing with a 3D mockup, you'll naturally come to feel that motion is, in the end, part of design.
Key Takeaways
Animation is placing “when it appears, where it moves, how much it changes, and when it disappears” on a timeline.
Start with presets, add time offsets, and keep to one emphasis per screen, and a little motion still creates rhythm.
Keyframes and ease let you refine motions that aren't in the presets.
In the video editor, fit video and animation into one scene, and export as MP4 for social media and promotion.
Showing covers and posters like physical objects with 3D mockups and perspective transform lets you finish even the promo video within one project.
© Abstract Cloud. All Rights Reserved.
+82 10-2747-3403
are copyrighted by Opkle.